If your organization has a Read&Write license with Take Home rights, students can access Read&Write when they are at home or off campus.
If your school/district uses G Suite or Office 365 organizational accounts, students can log into Read&Write anywhere with their organizational G Suite or Office 365 account.
Alternatively, students can log into Read&Write with a personal email address or account. This could be because either:
Your school/district does not use G Suite or Office 365 organizational accounts or
Students prefer to use Read&Write with a personal email address
Example: Your school is an Office 365 organization, but your students use G Suite on a personal email address (e.g. Gmail). Those personal email addresses can be licensed so students can access Read&Write for Google Chrome in Google Drive, with Google Docs, etc.
Choose from the options below based on what accounts your students will use at home.
Note: These instructions are for Read&Write for Windows, Read&Write for Mac, Read&Write for Google Chrome, Read&Write for Microsoft Edge, Read&Write for iOS, and Read&Write for Android only.
Students use organizational G Suite accounts
For an Unlimited license, all of your students will automatically have access to Read&Write at home through their organizational G Suite accounts.
For a Group license, any student who has been added to the group and licensed with the Texthelp Admin Tool will automatically have access to Read&Write at home through their organizational G Suite account. See the Texthelp Admin Tool User Guide for instructions.
How do my students access the different versions of Read&Write?
Windows | Mac | Google Chrome | Microsoft Edge | iOS | Android |
Install Read&Write and sign in with Google ID | Install Read&Write and sign in with Google ID | Sign into Chrome with Google ID and install Read&Write for Google Chrome | N/A | Install Read&Write and link Google ID when prompted | Install Read&Write and link Google ID when prompted |
Students use organizational Office 365 accounts
For an Unlimited license, all of your students will automatically have access to Read&Write at home through their organizational Office 365 account.
For a Group license, any student who has been added to the group and licensed with the Texthelp Admin Tool will automatically have access to Read&Write at home through their organizational Office 365 account. See the Texthelp Admin Tool User Guide for instructions.
How do my students access the different versions of Read&Write?
Windows | Mac | Google Chrome | Microsoft Edge | iOS | Android | |
Install Read&Write and sign in with Office 365 account | Install Read&Write and sign in with Office 365 account |
| Install Read&Write and sign in with Office 365 account | Install Read&Write and enter Product Code ORCreate URL for students to activate their license. See How do I deploy the app to multiple devices for instructions. | Install Read&Write and enter Product Code ORCreate URL for students to activate their license. See How can I deploy the app for instructions. |
Students use personal email addresses
For both Unlimited and Group licenses, students’ personal email addresses must be licensed through the Texthelp Admin Tool in order to access Read&Write at home.
Students must use one of the following types of accounts to sign into Read&Write:
Google
Microsoft Office 365
Facebook
Twitter
LinkedIn
To set up students’ personal email addresses with access to Read&Write do the following:
Licensing users with the Take Home section of the Admin Tool
When signed into the Texthelp Admin Tool with a Gmail
- Sync with a Google Sheet
Create a Google Sheet with just the user emails listed in column A. You cannot use multiple sheets.
On the Home page, click on “Manage”
Select “Google Sheet” in the pop up window

Permission window will pop up and you will need to select “Allow”
A file picker window will pop up showing you all the Google Sheets in your Drive. Select the Sheet that contains the emails that you would like to license.

If you exceed the group amount you will get an error message

Once the file gets the OKAY you can select Continue and then Sync
You will get confirmation that the sync was done correctly

- Uploading a CSV
Create a CSV file with just the user emails listed in column A. You cannot use multiple sheets. (Make sure you remember where you save it)

On the Home page, click on “Manage”
Select “CSV” in the pop up window
A window will pop up and you will need to navigate to the CSV file you created
If you exceed the group amount you will get an error message
Once the file gets the OKAY you can select Continue and then Sync
You will get confirmation that the sync was done correctly
- Sync with a Google Sheet
When signed into the Texthelp Admin Tool with a Microsoft email
- Sync with an Excel Sheet
Create an Excel Sheet with just the user emails listed in column A. You cannot use multiple sheets.
On the Home page, click on “Manage”
Select “Excel Sheet” in the pop up window

A file picker window will pop up showing you all the Excel Sheets in your OneDrive. Select the Sheet that contains the emails that you would like to license. You can also upload a file from your computer.

If you exceed the group amount you will get an error message

Once the file gets the OKAY you can select Continue and then Sync
You will get confirmation that the sync was done correctly

- Uploading a CSV
Create a CSV file with just the user emails listed in column A. You cannot use multiple sheets. (Make sure you remember where you save it)

On the Home page, click on “Manage”
Select “CSV” in the pop up window
A window will pop up and you will need to navigate to the CSV file you created
If you exceed the group amount you will get an error message
Once the file gets the OKAY you can select Continue and then Sync
You will get confirmation that the sync was done correctly
- Sync with an Excel Sheet


How do my students access the different versions of Read&Write?
Windows | Mac | Google Chrome | Microsoft Edge | iOS | Android |
Install Read&Write and sign in with personal email addresses | Install Read&Write and sign in with personal email address | Sign into Chrome with personal Google email addresses and install Read&Write for Google Chrome | Install Read&Write and sign in with personal Microsoft Office 365 email address | Install Read&Write and sign in with personal Google email address OREnter Product Code for student on the iOS Device ORCreate URL for students to activate their license. See How do I deploy the app to multiple devices for instructions | Install Read&Write and sign in with personal Google email address OREnter Product Code for student on the Android ORCreate URL for students to activate their license. See How can I deploy the app for instructions. |
Students don't have an email address
The Take Home Code can be used to sign into Read&Write as an alternative to using GSuite, Office 365 or personal email addresses.
Using the Take Home Code
The Take Home Code allows end users to sign into Read&Write if they don’t have an email address or can’t sign in with one of the suggested email providers
This is currently only available for signing into Read&Write for Windows
*DO NOT distribute this code outside of your organization*When signed into the Admin Tool, click on the Take Home tab.
Under Code, you can click on Show to reveal your Take Home Code.
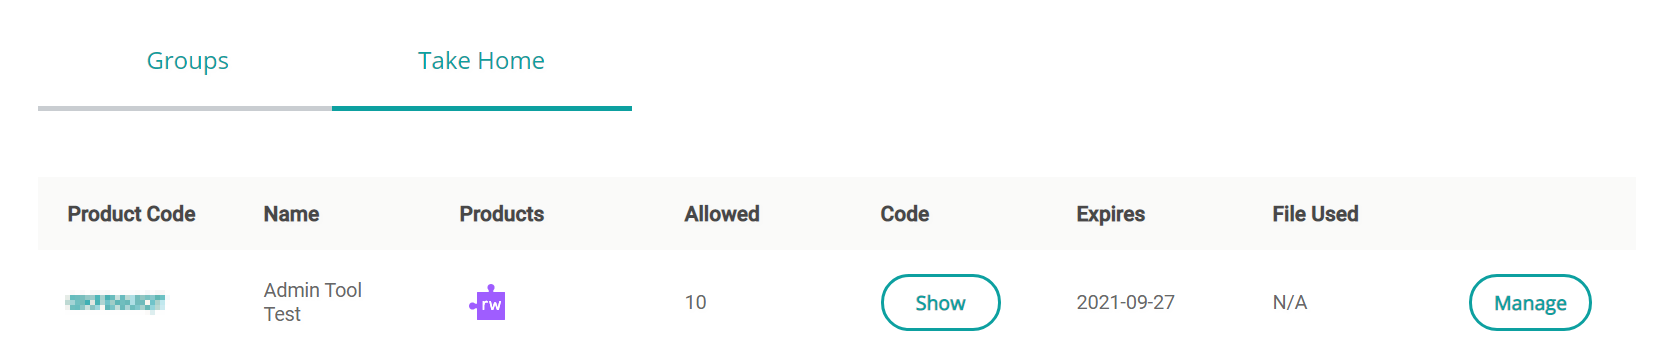

This code can be used to sign into Read&Write for Windows
In Read&Write's sign in window, click on Show More.
Click on Use Take Home Code
Enter in the code that was revealed in the Admin Tool


Please Note:- This code must be distributed in a secure way and should not be used by anyone outside of your organisation.
The Take Home Code can be reset by clicking the Show button and then Reset Take Home Code. When this is done, the previous Take Home Code can’t be used to sign into Read&Write. This will also expire Read&Write for any of your users who have signed in using the previous Take Home Code. When your users receive the new Take Home Code, they can click the Sign Out button on the Read&Write toolbar, then sign in using the new Take Home Code.