Read&Write for iOS is an alternative keyboard and writing app for your iOS devices. It offers several friendly tools to help if you’re writing emails, creating documents or entering and editing any kind of text.
The most recent update facilitates the installation and utilization of Read&Write iOS on iPhones and iPads
Kindly take note that the latest update requires iOS 13 or higher for proper functionality.
Use Read&Write for iOS for everyday typing, just like you’d use your iOS normal keyboard. Reading and writing text is made quicker, easier and more accurate with these features:
- Speech with dual colour highlighting
- Speak as you type
- Word Prediction as you type
- Check It
- Dictionary
- Picture Dictionary
- Translation
- Web Toolbar
- Talk&Type (Requires iOS 13 or higher)
Installing Read&Write for iOS also adds a web toolbar to your Safari browser, giving you a helping hand with reading web pages or filling in online forms.
Starting Read&Write for iOS
The first time you run Read&Write for iOS, you will be shown a Setup Wizard. This gives information on how to activate the keyboard and access the Web toolbar. Launching Read&Write for iOS subsequently will take you straight to the Settings screen.
Please see Signing in with Read&Write for iOS for authenticating an account.
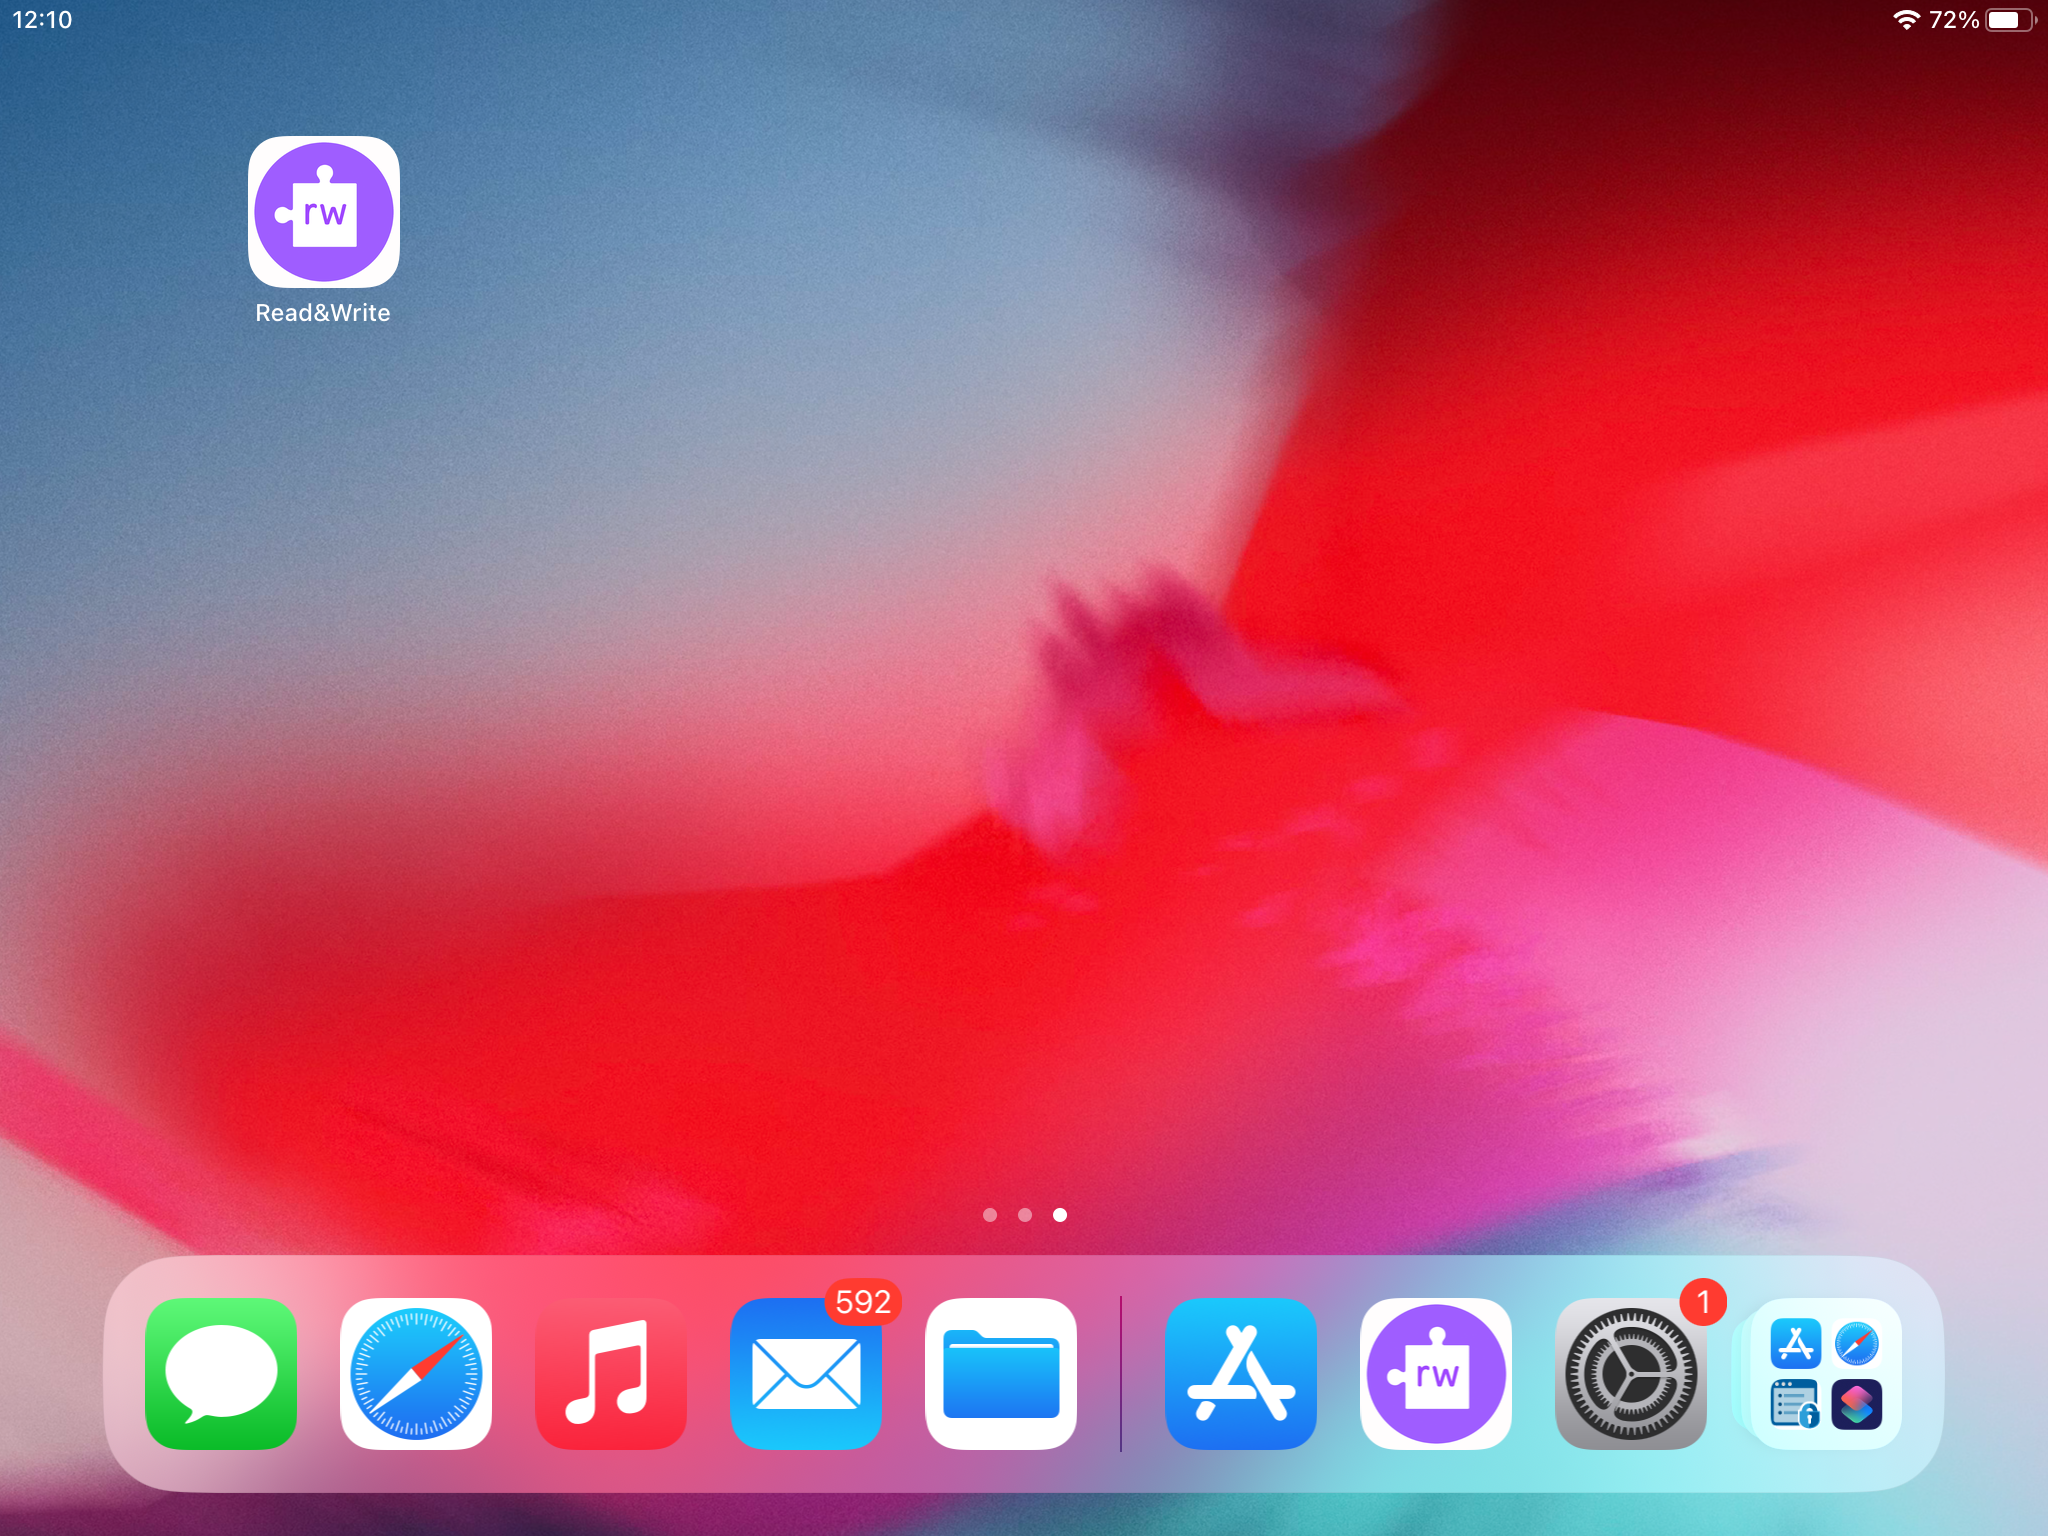
From the Settings screen you can alter how Read&Write for iOS works.
Adding the Read&Write for iOS Keyboard
To change to the Read&Write for iOS keyboard go to Settings > General > Keyboards. Tap on Keyboards and then select Add New Keyboard. Select Read&Write. Now select Read&Write Keyboard – Read&Write and switch on Allow Full Access.
Once the keyboard has been enabled, click the Globe icon in the lower left of the current keyboard to toggle through to the Read&Write for iOS Keyboard.
Using the Keyboard
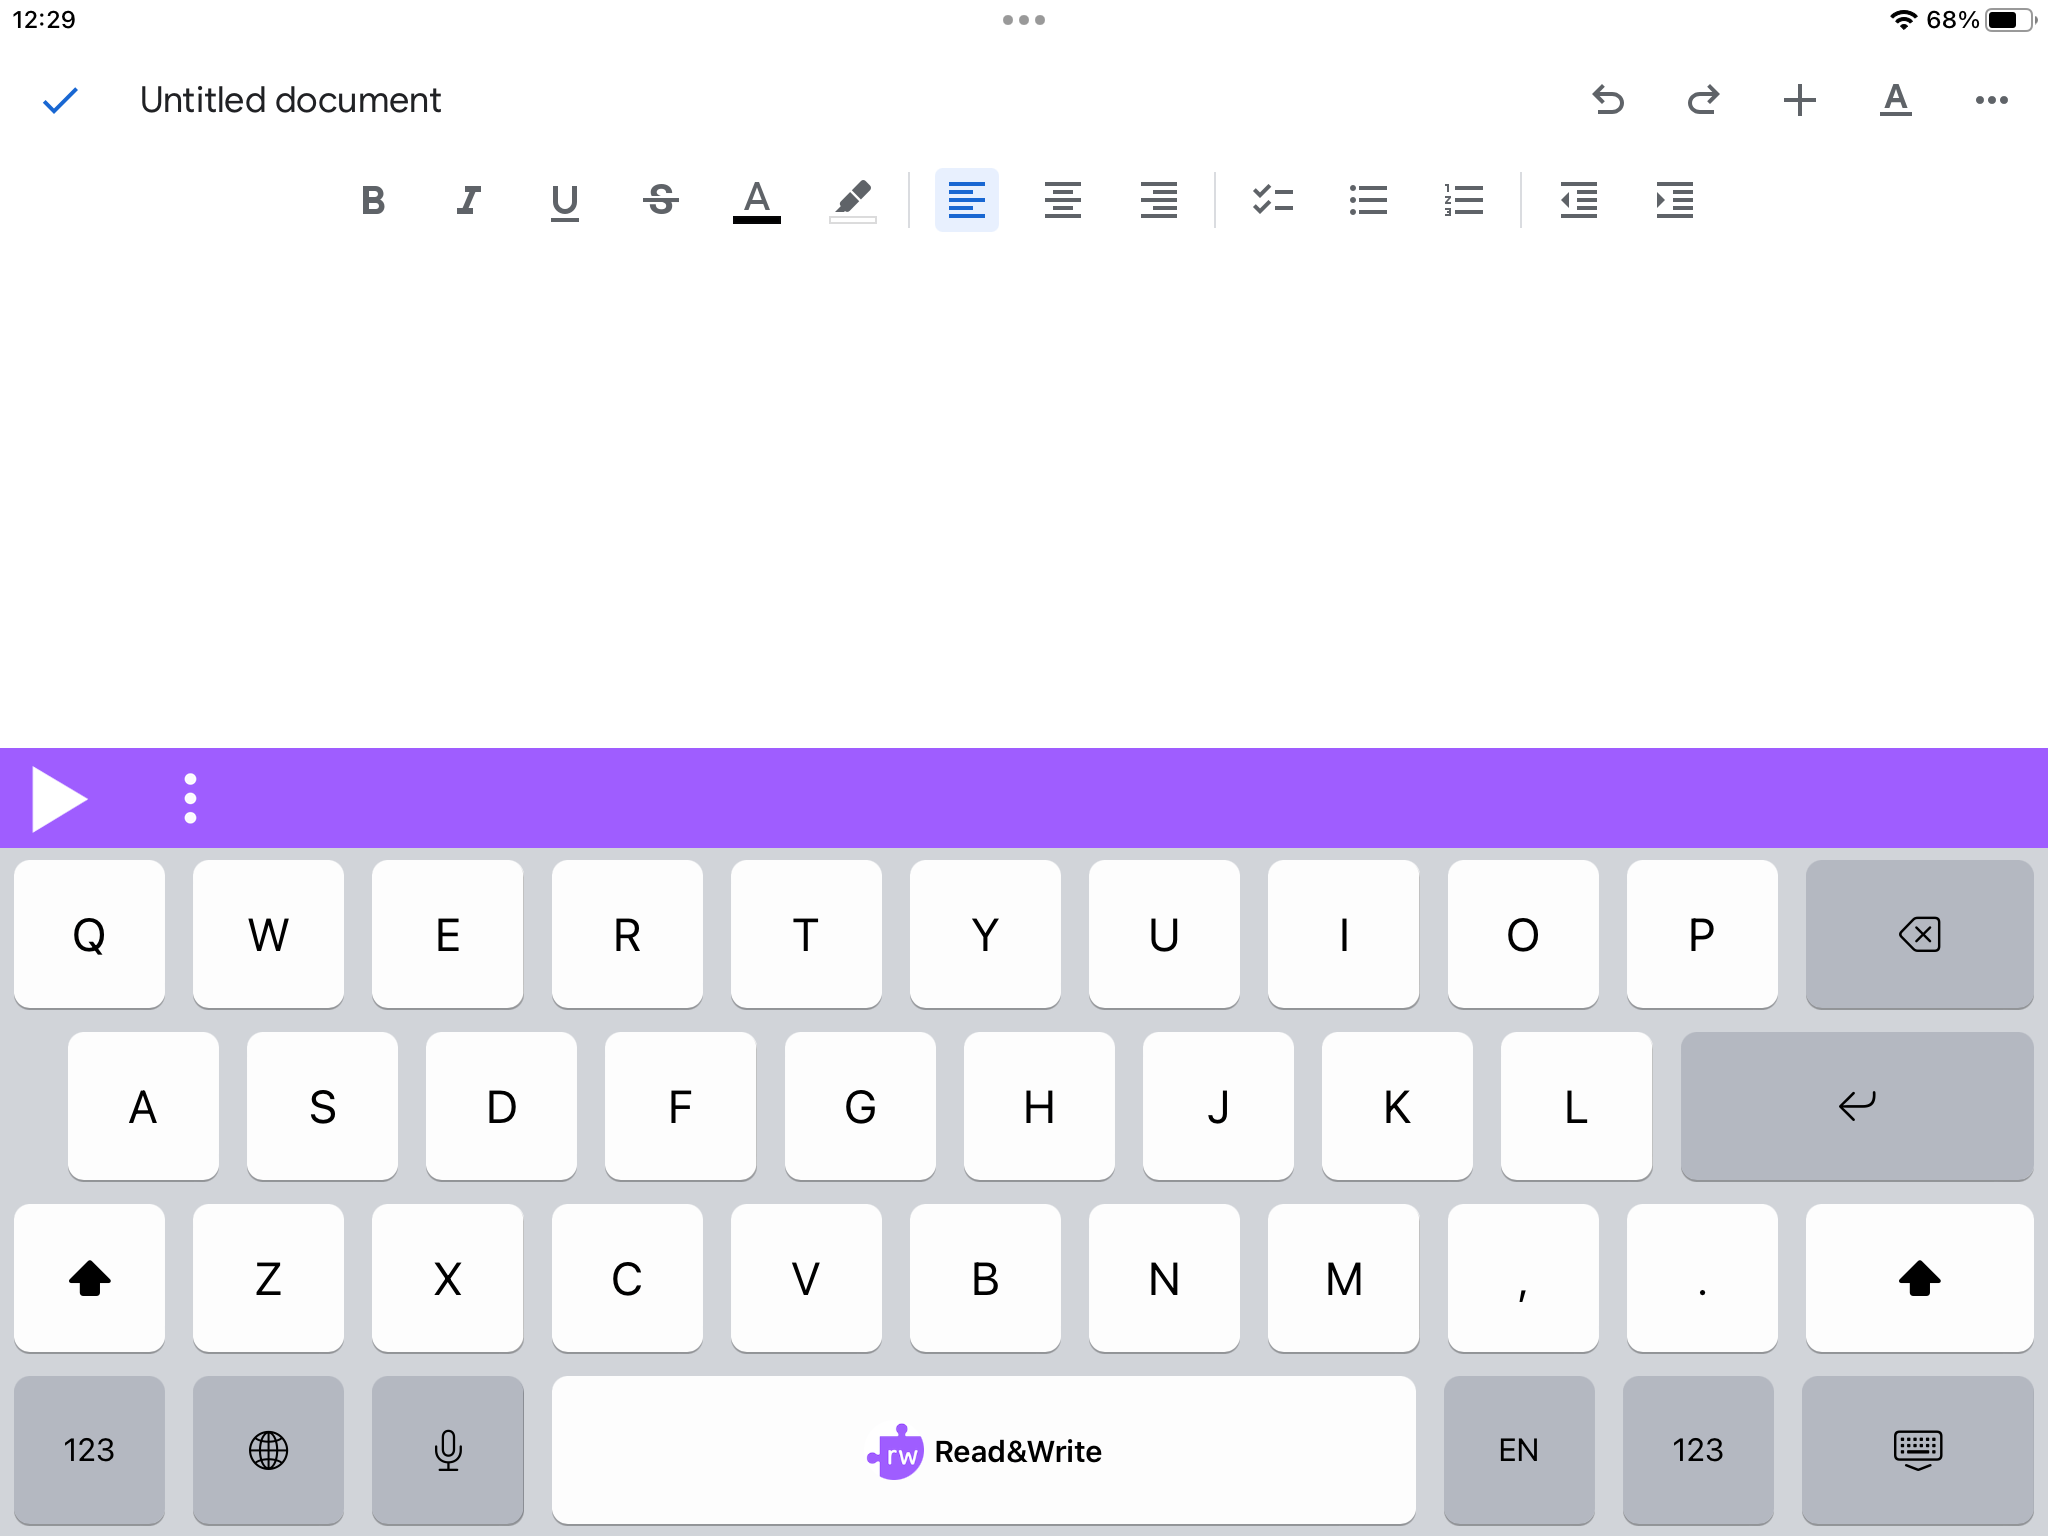
With the keyboard installed and selected, you’ll have access to it in any application where you need to type:
Simply use Read&Write for iOS to type text like your normal keyboard.
Prediction
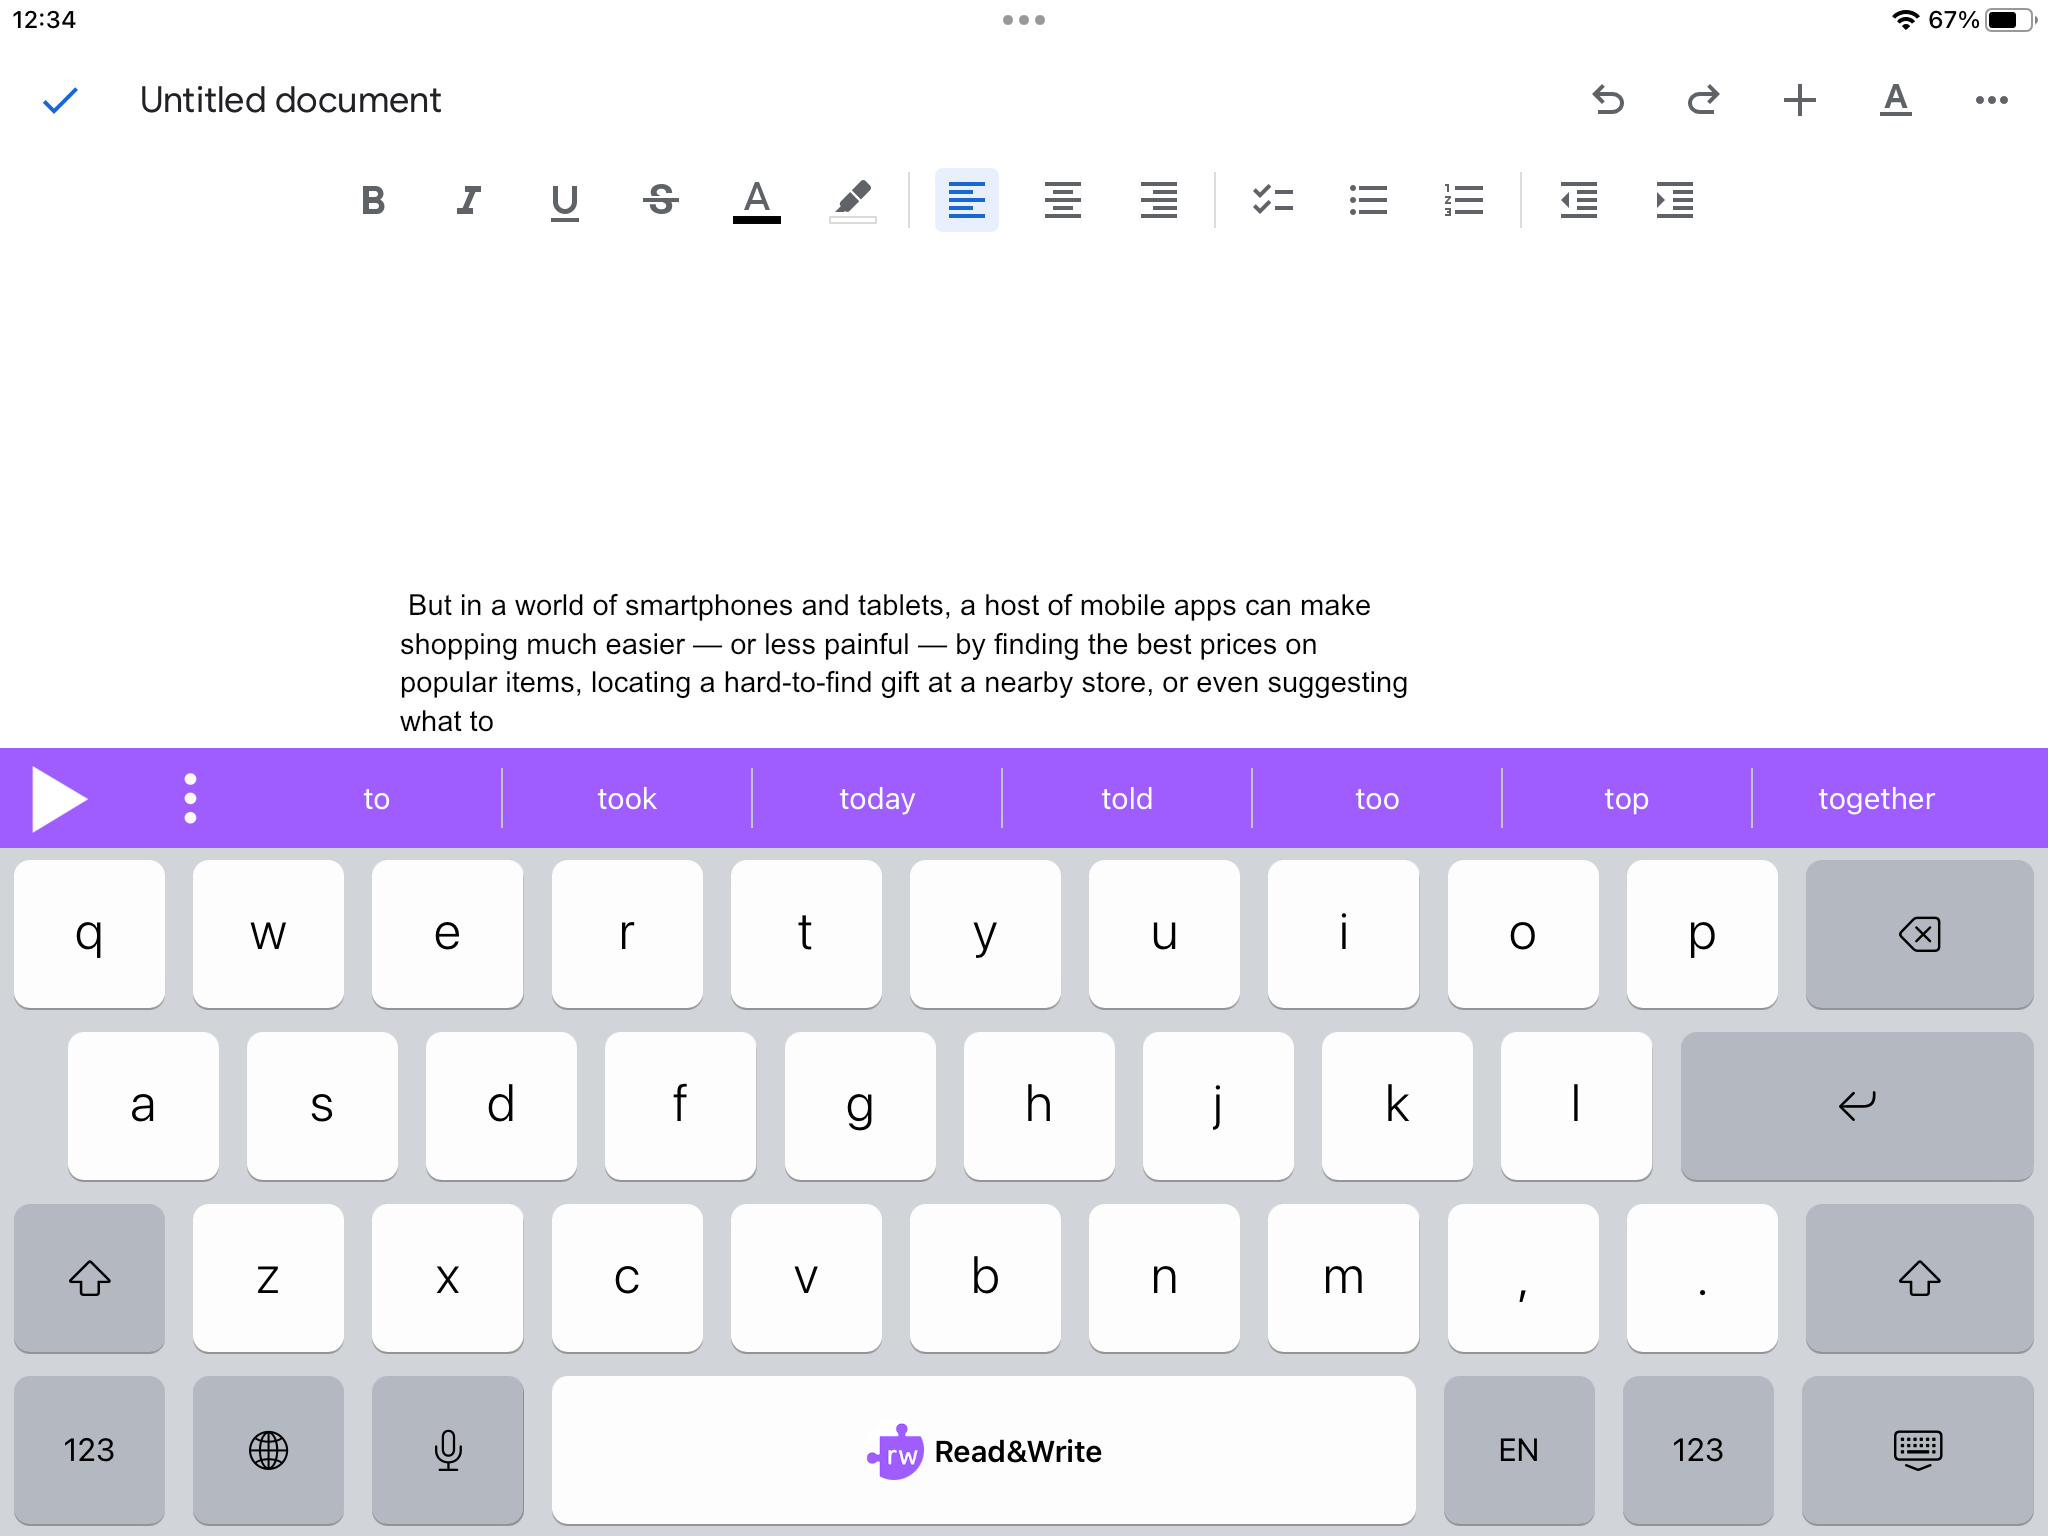
When you start to type, word suggestions will be predicted in the top bar:
If you want to use any of these predicted words, just tap once on the word you want. Your chosen word will be put into the text, and the words displayed will change to the next set of predictions.
To find a definition for a suggested word long press on it.
If Speak Suggestion is switched on in Settings, the suggestion will be read aloud when you tap on it. To insert the word double tap on it.
If Swipe to Insert is switched on in Settings swipe the word up to insert it into the text. Swipe the word down to see a definition for the word.
Speech
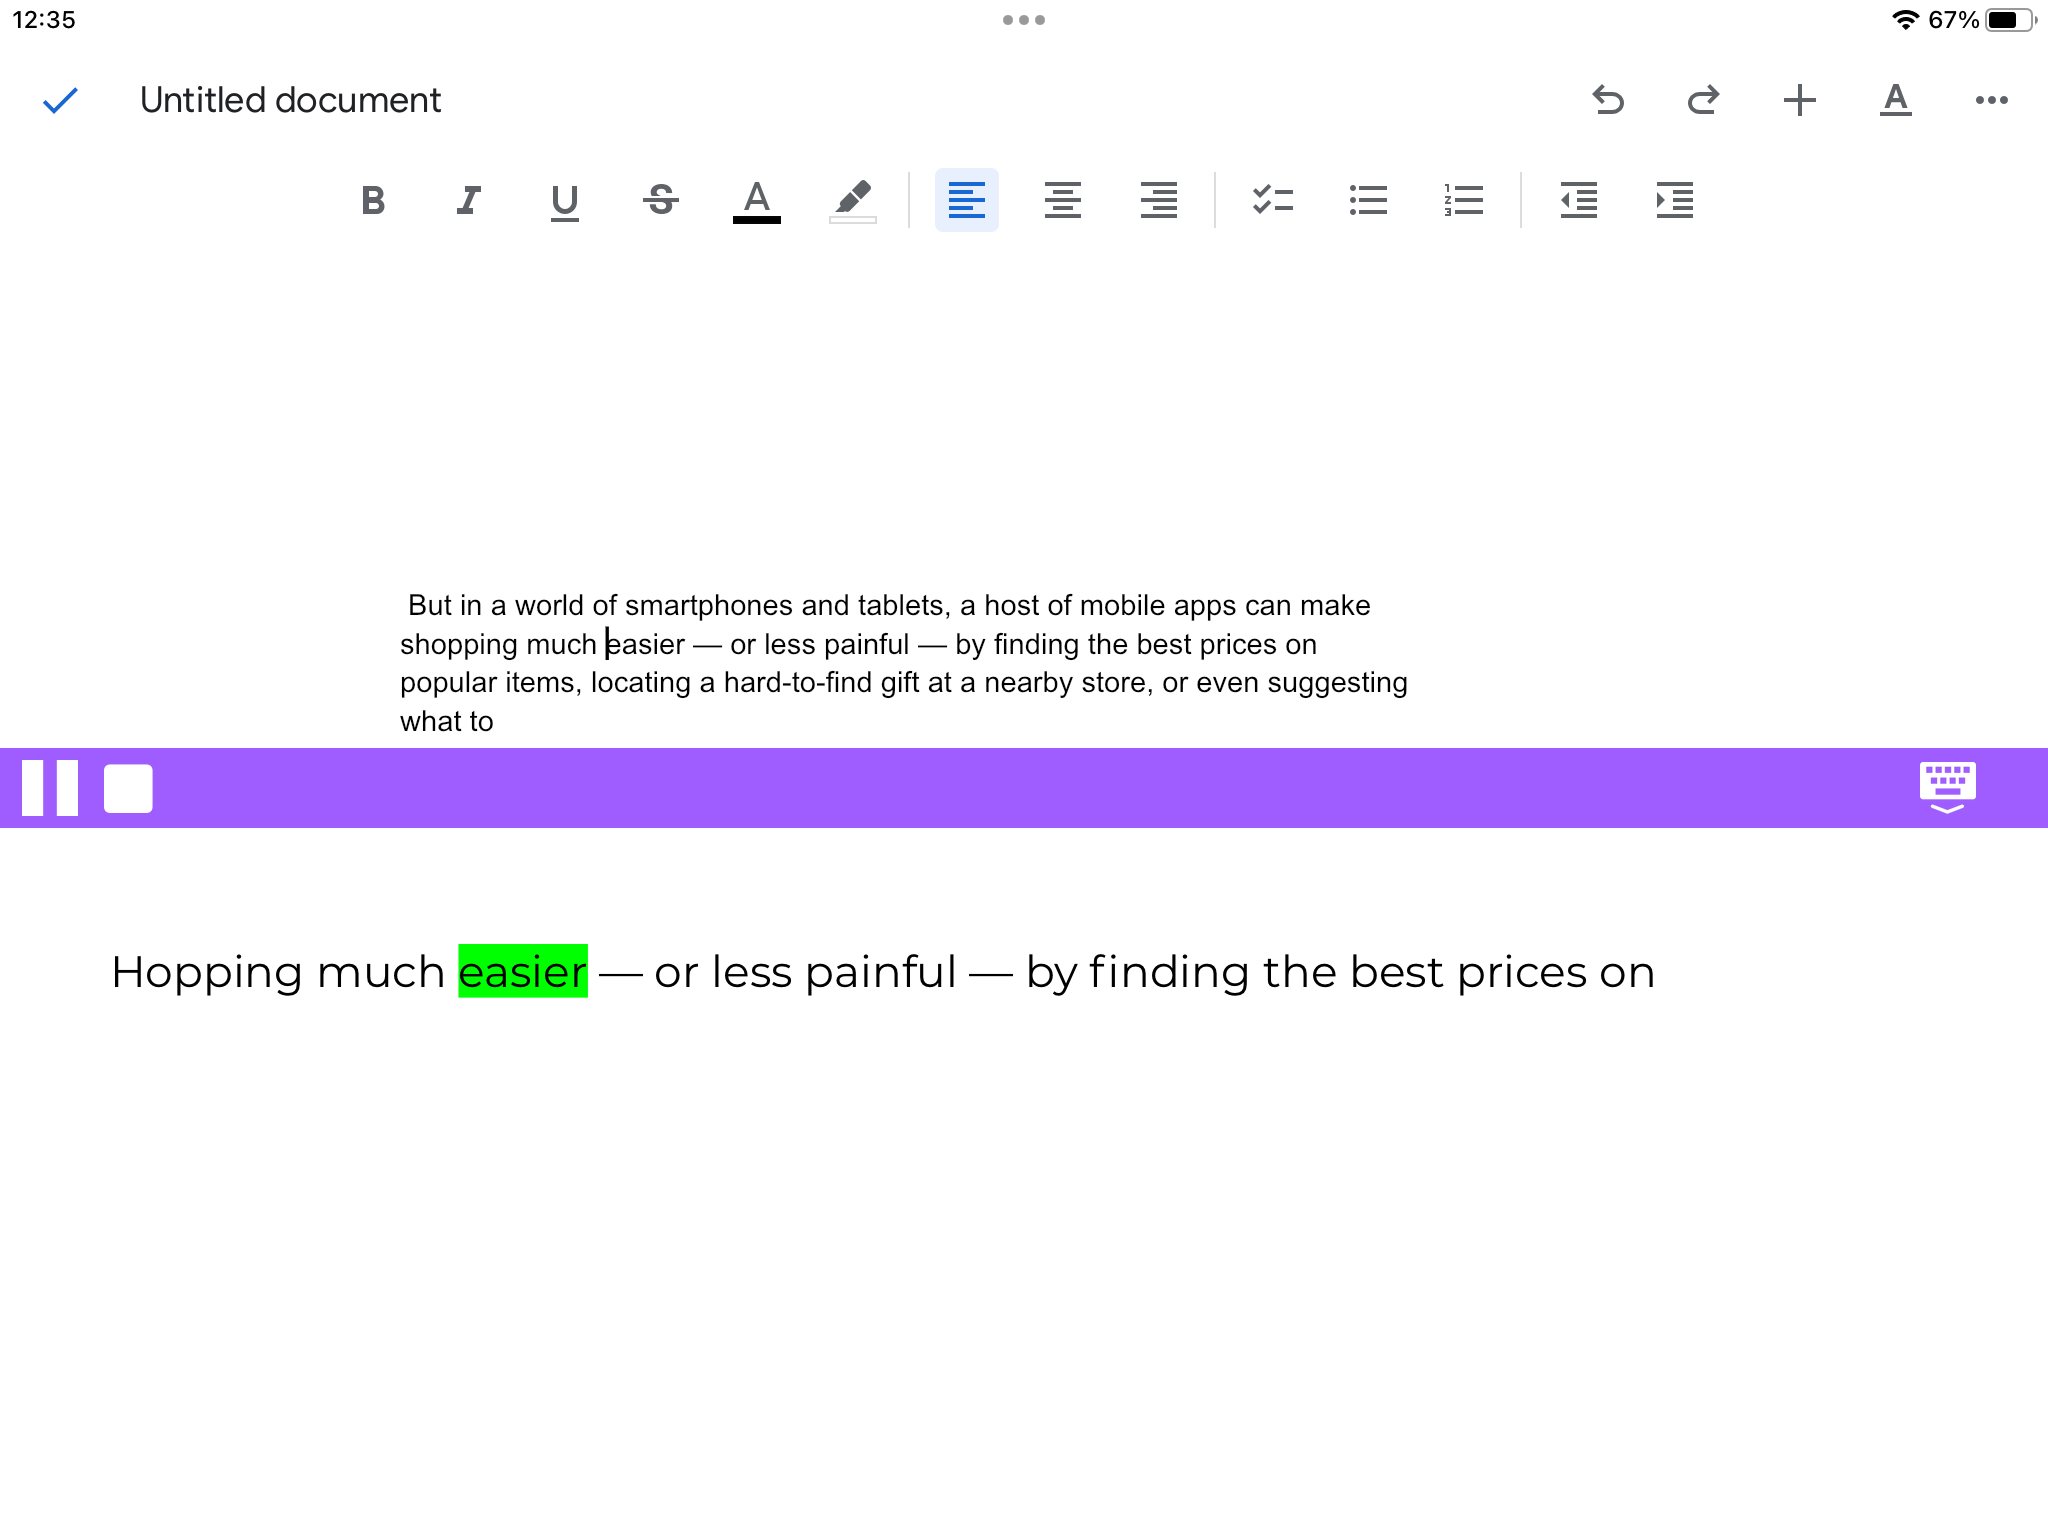
To hear text read back to you, place the cursor in the text where you want to start reading and then click on the Play button icon.
The keyboard will disappear and a speech panel will appear with the first sentence from the text like this:
The sentence will be read aloud to you and each word will be highlighted. If Continuous Reading is switched on in the Settings, it will continue to read the text until it is finished, or until you click on the Stop button icon to stop it reading, or you click on the keyboard icon
to return to the keyboard.
Check It
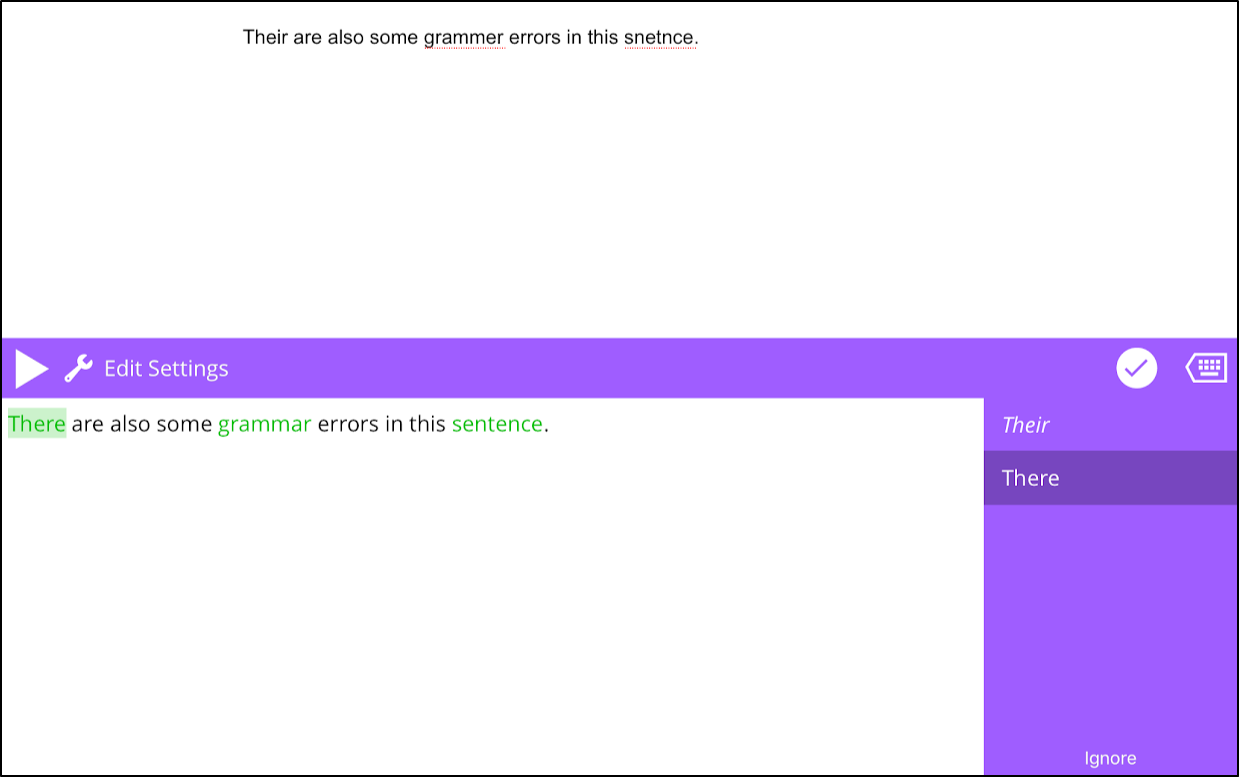
To use the Check It, place the cursor in the sentence and click on the  icon and then click on the Check It icon
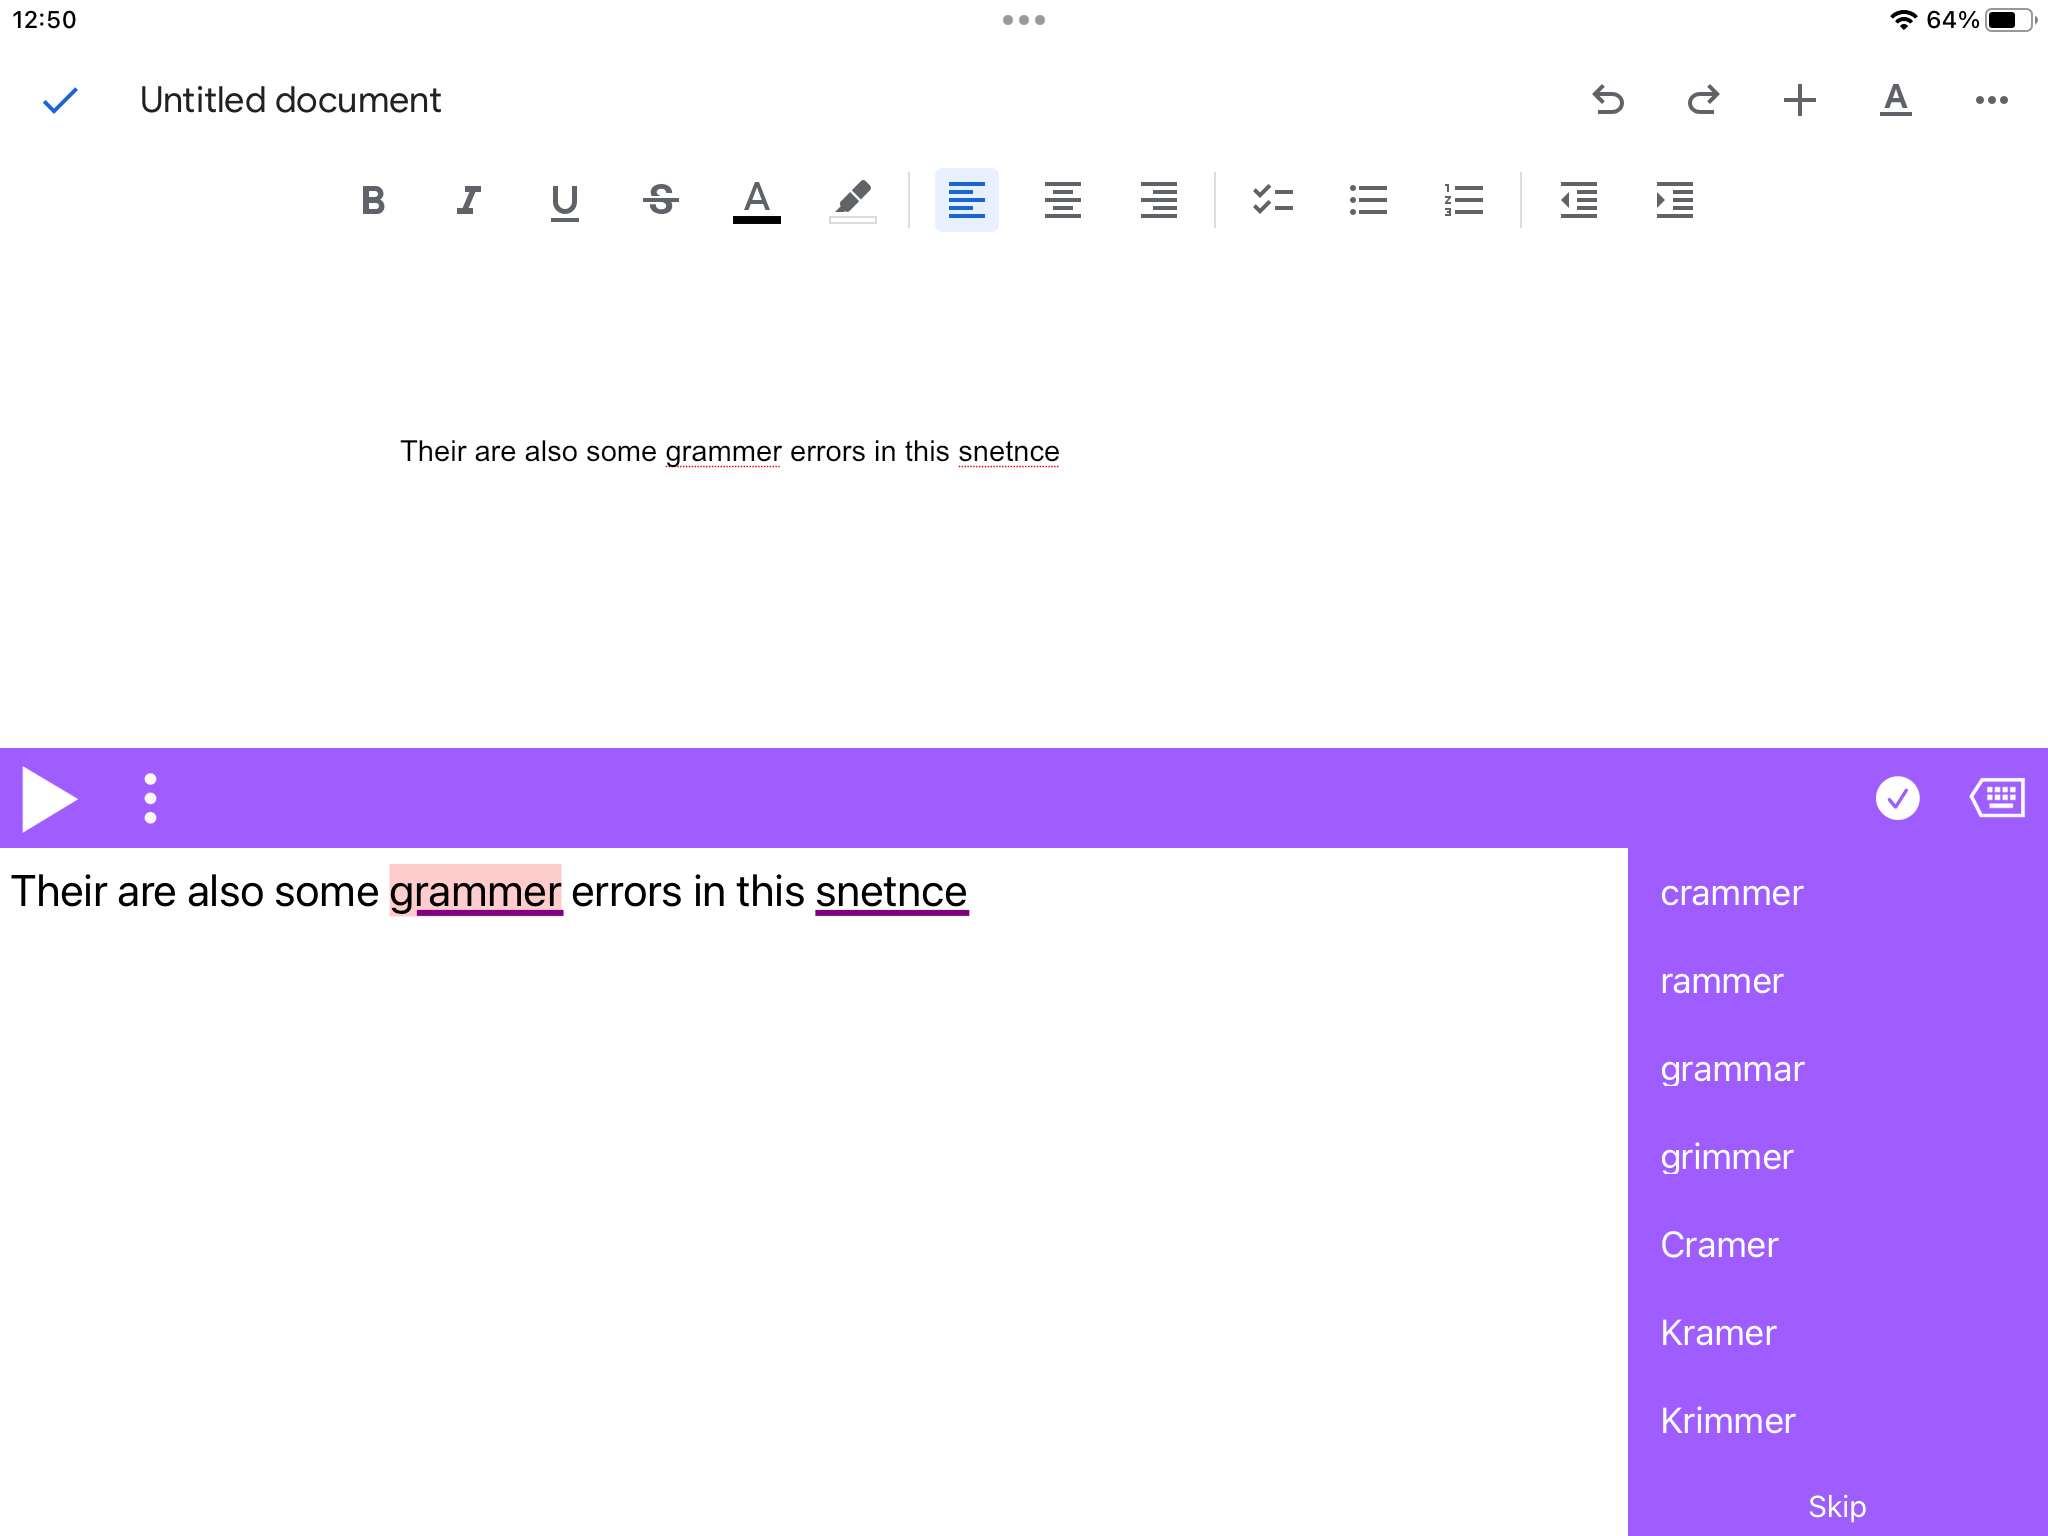
  The panel will appear like this:
Any confusable words, spelling and grammar errors and suggestions will be highlighted. A list of suggestions will appear on the right hand side starting with the first word. You can single tap one of these to make a correction or change Any changes will be replaced in the spelling panel with the suggestion you have chosen. Check It will then move to the next highlighted word in the sentence.
Once you've selected your changes, click on the icon to have the corrections entered into your text and return to the keyboard.
Dictionary
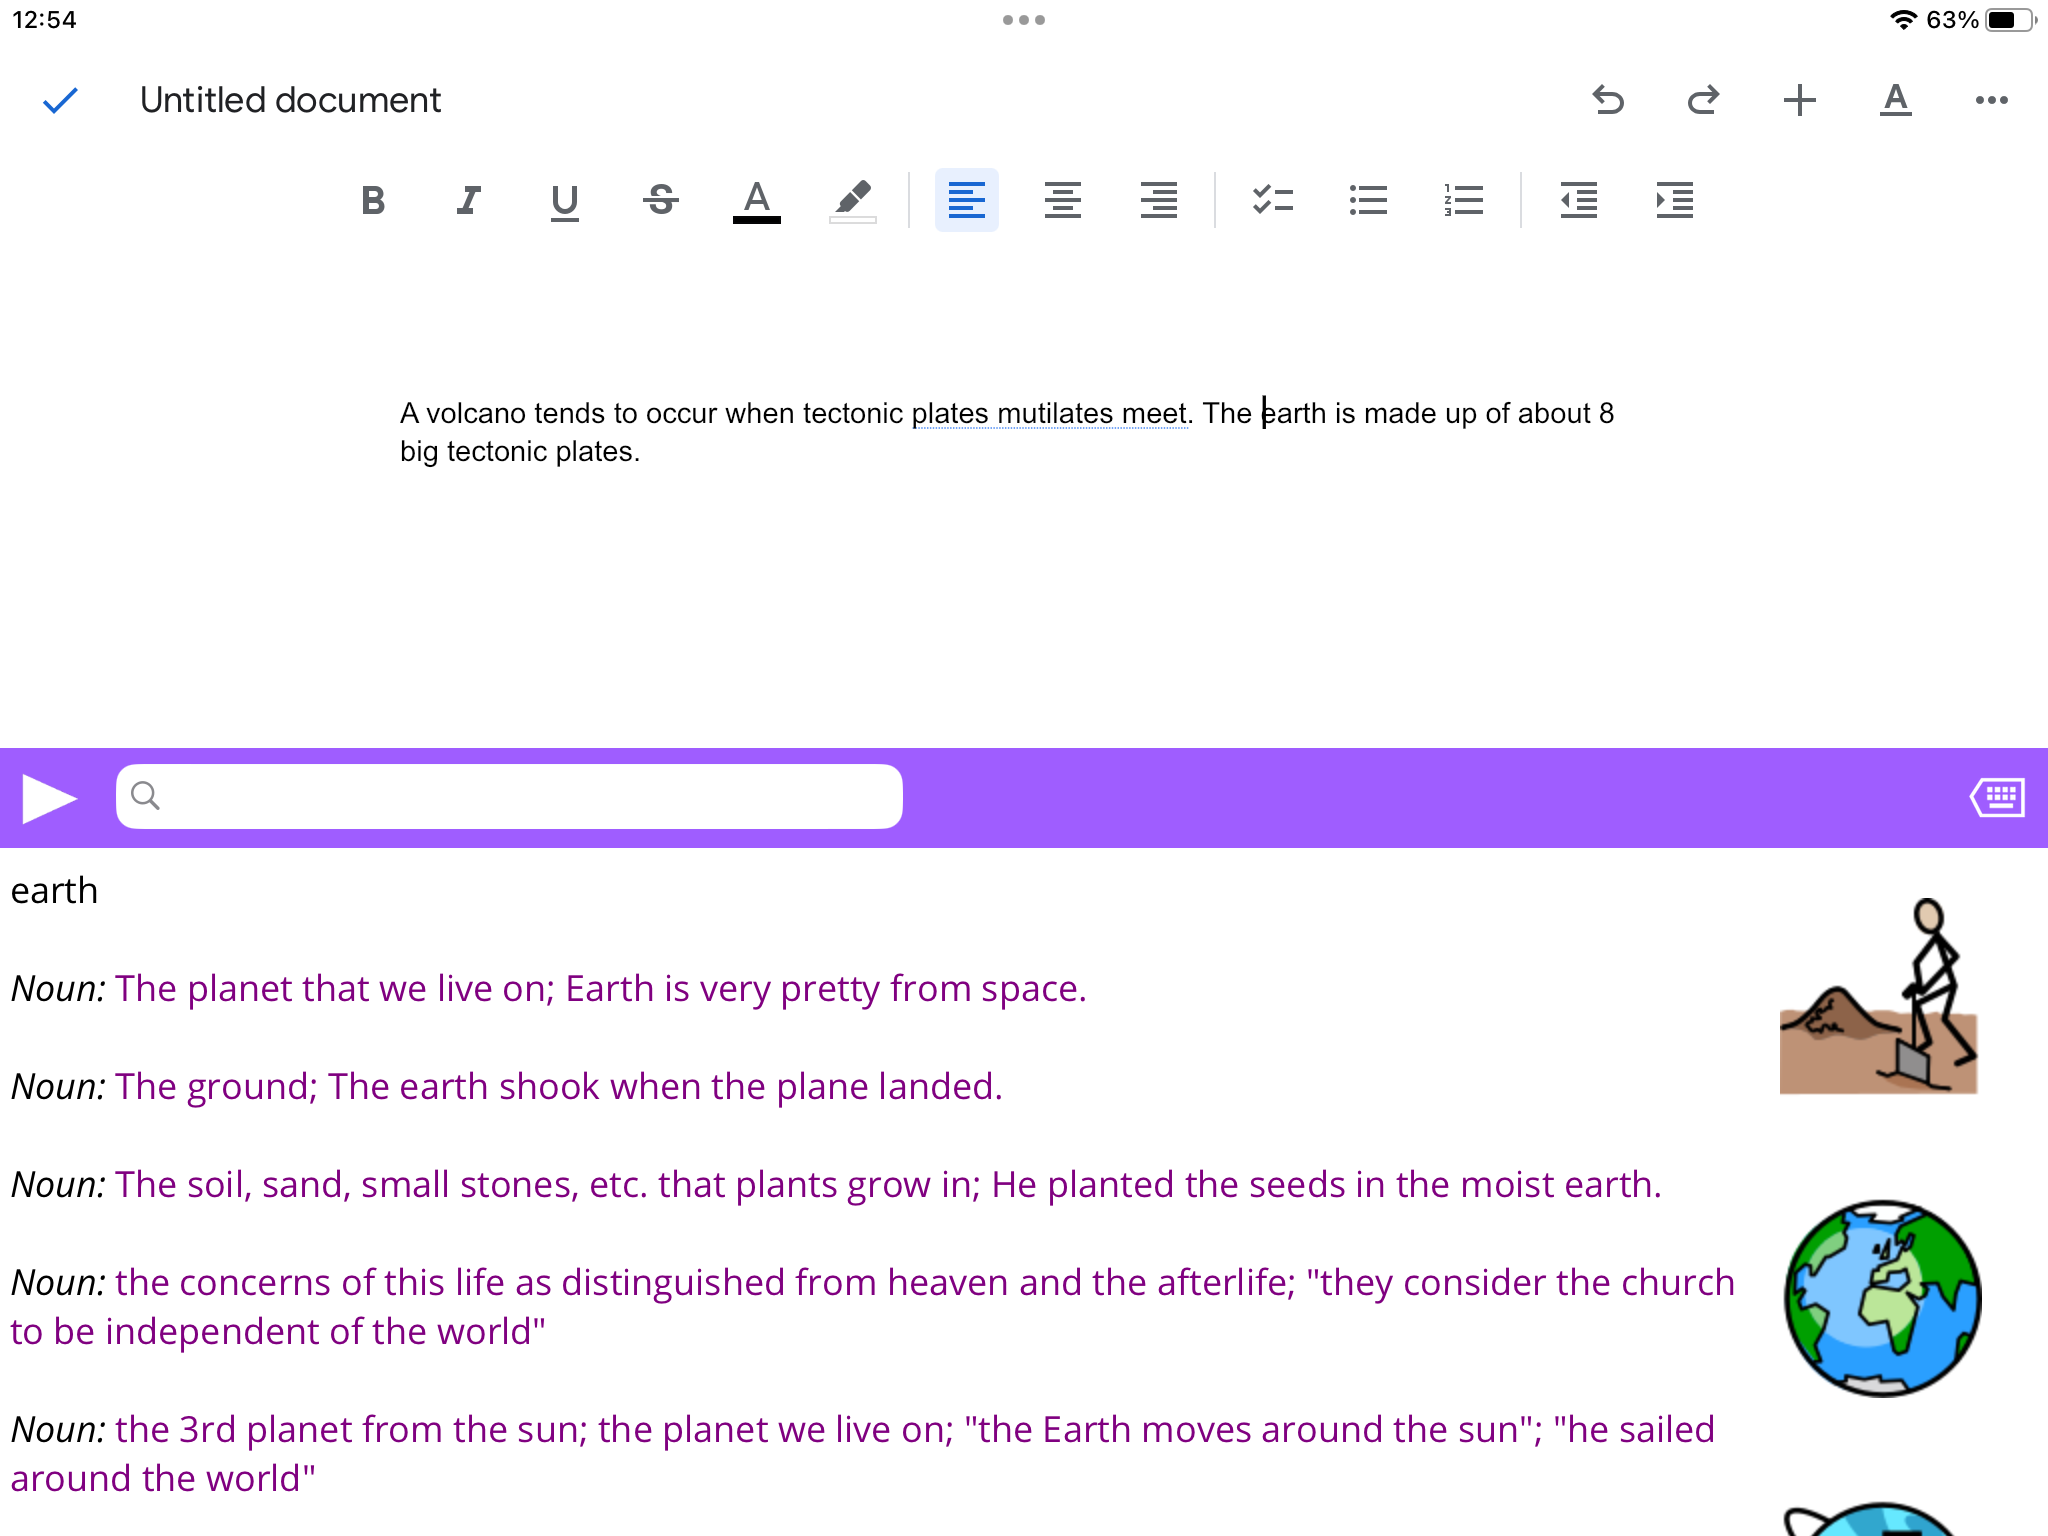
To use the Dictionary place the cursor anywhere in the word you wish to look up. Next, click on the  icon and then the Dictionary icon
 . A panel will appear like this:
To hear the definition read aloud, click on the Play button icon . To return to the keyboard click on the keyboard icon
.
Picture Dictionary
Select a single word in a web page and tap the Picture Dictionary icon to see the Picture Dictionary window display images for the word. For example:
Translation
Select a single word in a web page and tap the Translation icon to see a Translation window display a French or Spanish translation (depending on your location) for the word.
Web Toolbar
The Web Toolbar will be available after installing Read&Write for iOS. It offers these features when you’re viewing web pages with the Safari browser:
- Speech with dual colour highlighting
- Dictionary (Premium version only)
- Picture Dictionary (Premium version only)
- Translation
Accessing the Web Toolbar
In Safari tap on the sharing icon. Scroll through the black and white icons in the sharing popup window and tap on the Read&Write icon
. If the Read&Write icon does not appear in the list, tap on More, and then toggle Read&Write on in the list provided. You can drag the items in this list to change the order they appear in the Share menu.
This will add the Read&Write web toolbar into your current web page. You will need to be do this each time you visit a new web page.
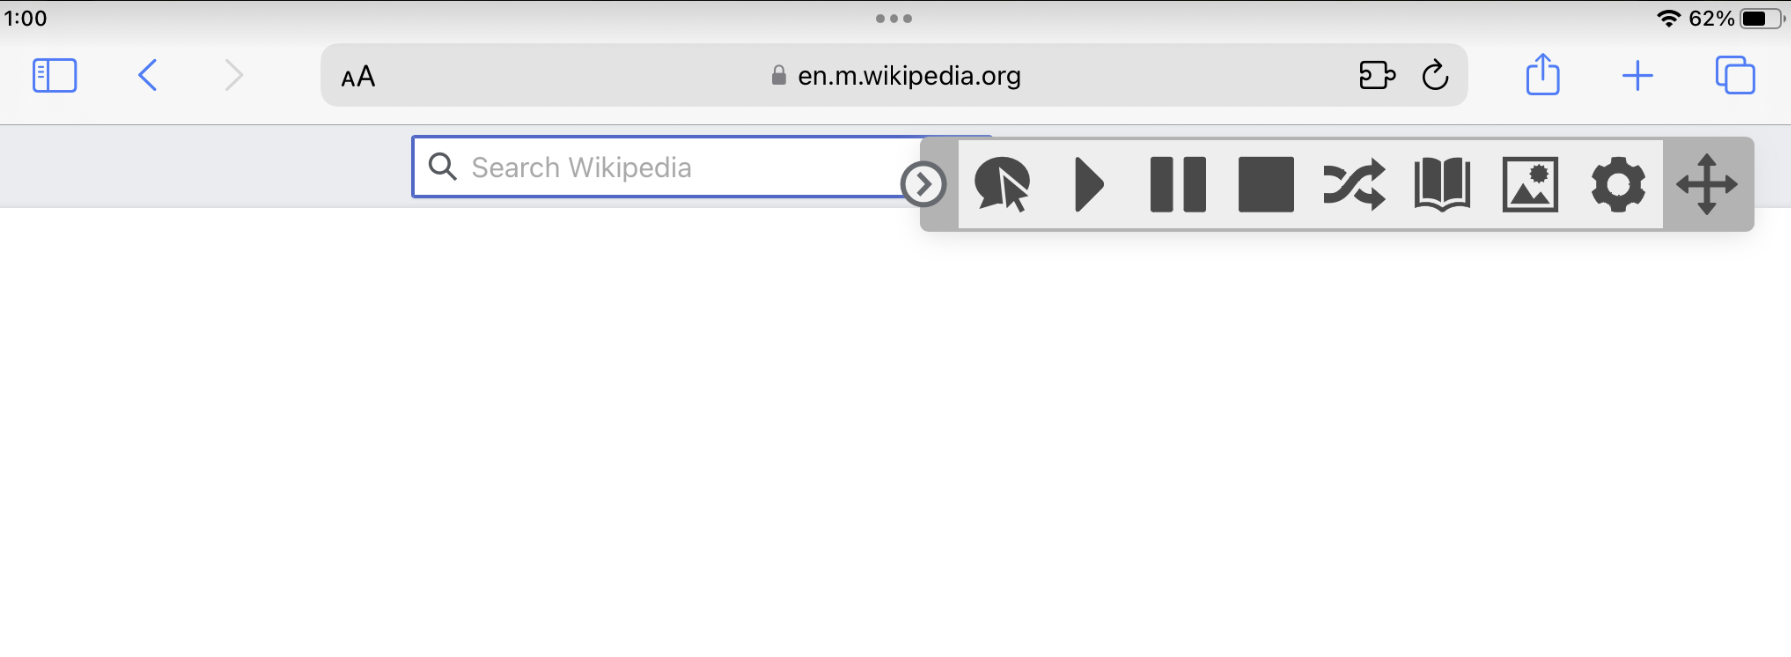
The Web Toolbar looks like this:
Talk&Type (Requires iOS 10 or higher)
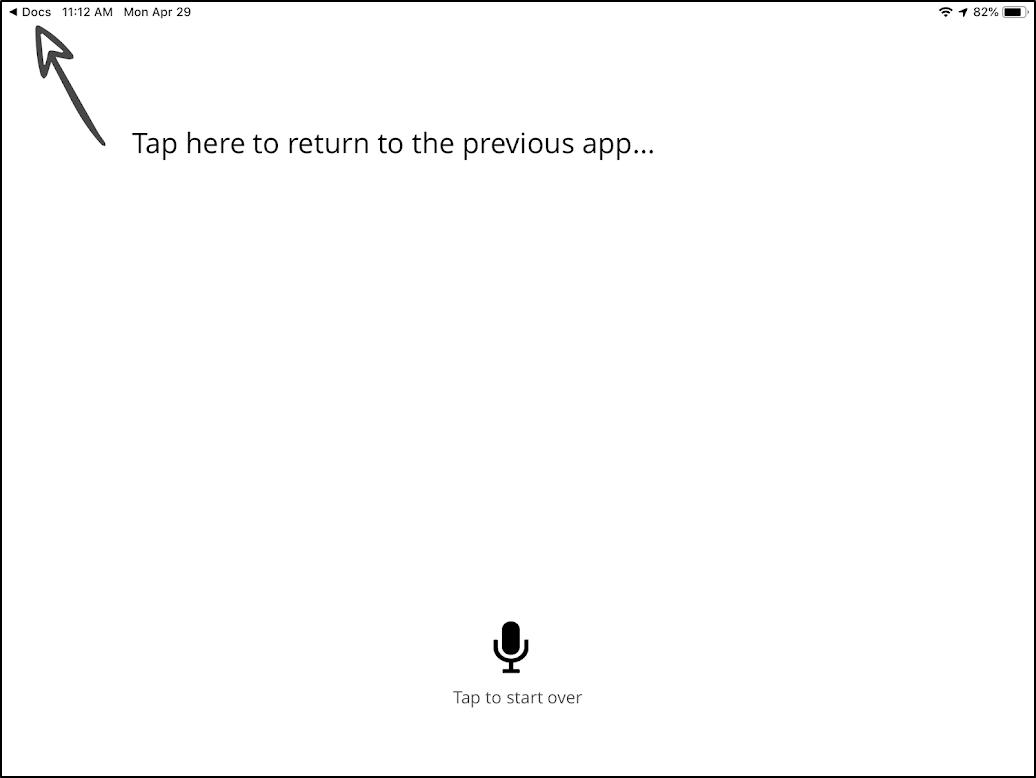
To use Talk&Type on the Read&Write for iOS keyboard, tap the microphone key on the keyboard
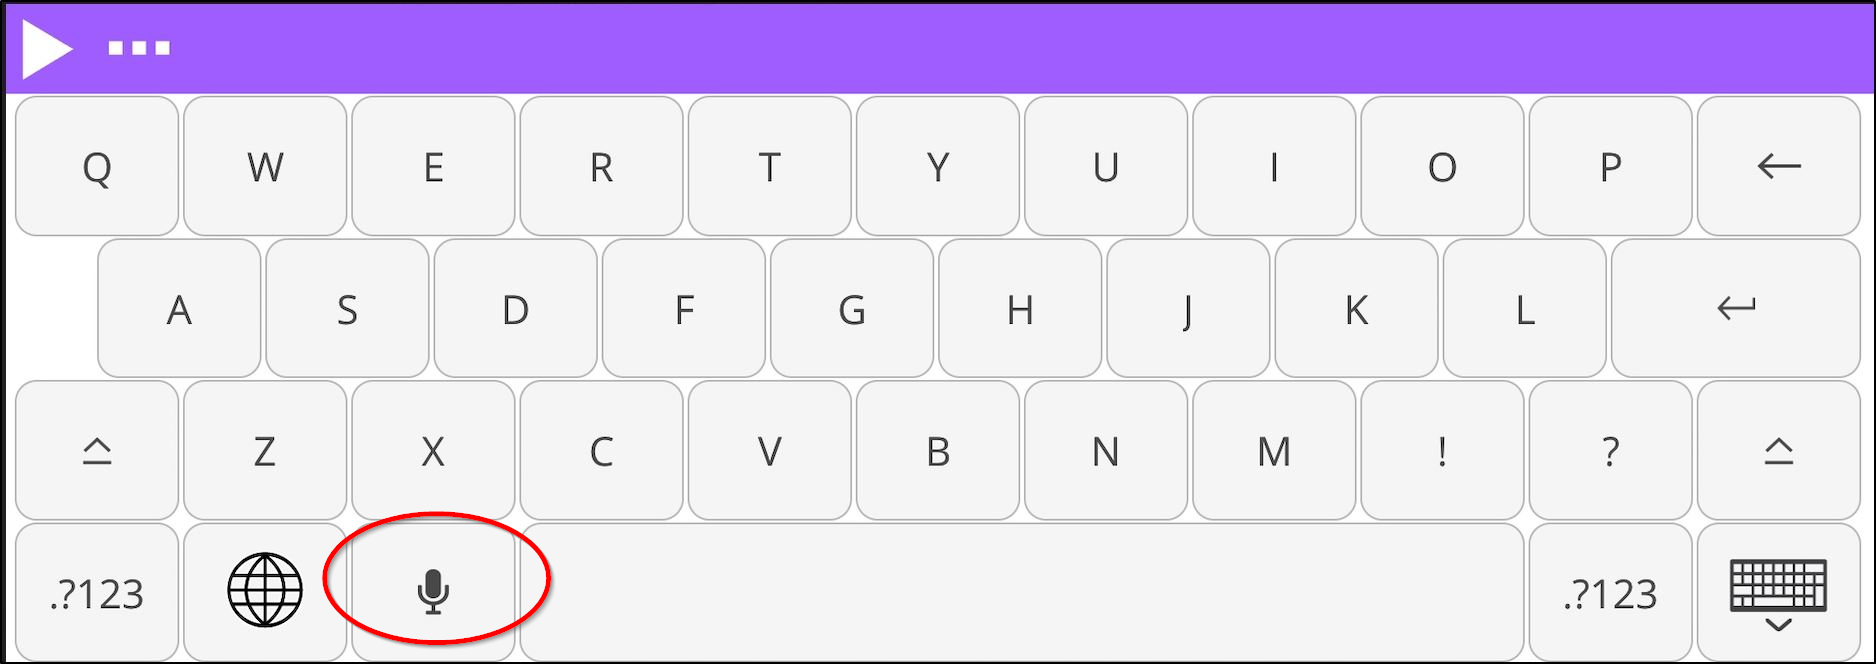
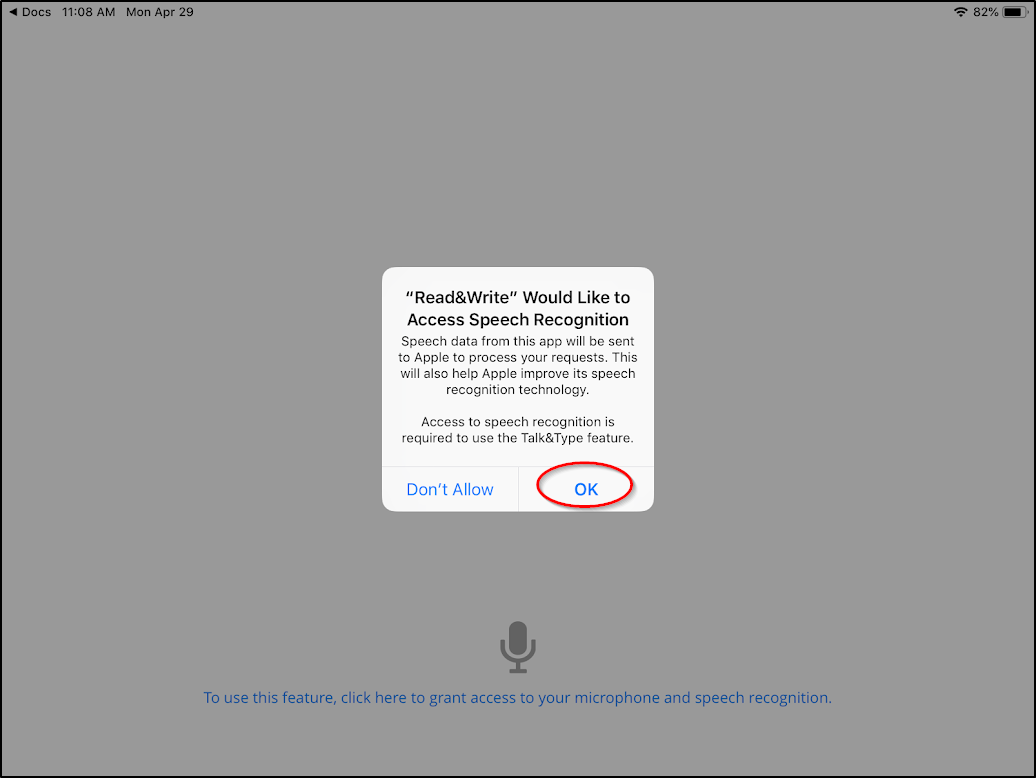
The first time this feature is used, you'll need to allow access to Speech Recognition
Click OK to allow access
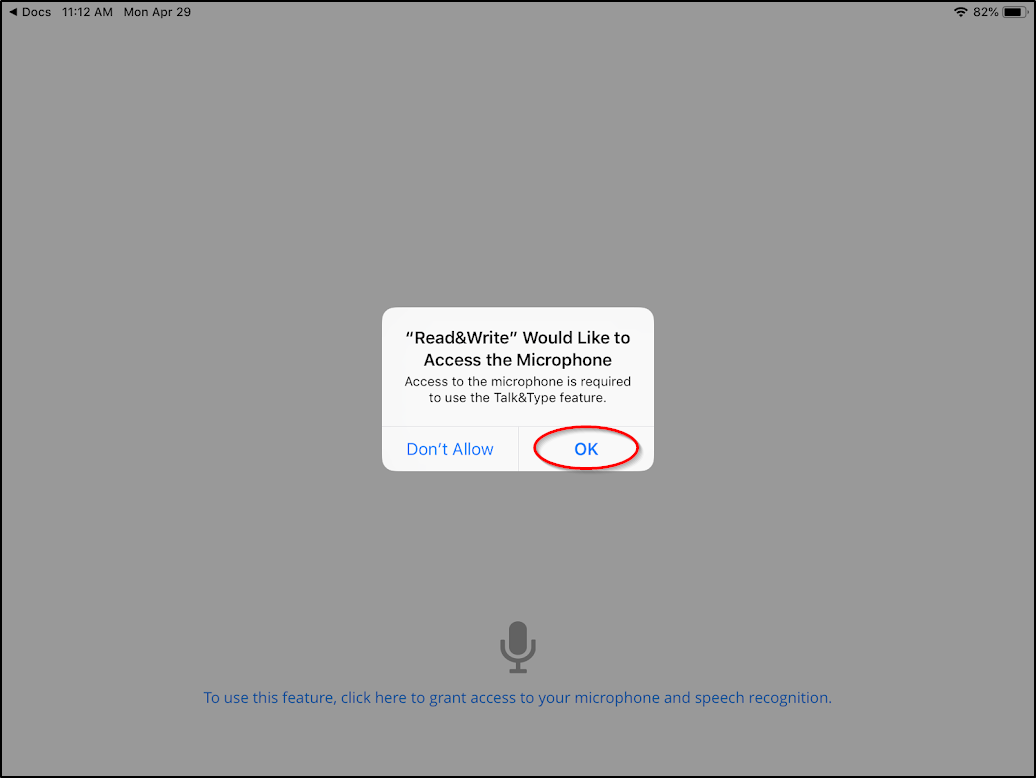
You'll then need to allow access to the microphone
Click OK to allow access
When using Talk&Type, a new app will open. Tap the microphone icon to begin dictating. Then tap the mic icon again when finished. To insert the text you've dictated, tap the link to the app you're using to insert the text.
Your dictated text will now be inserted into the app you're using.
Tap to Speak
When the toolbar first loads into the web page, the Tap to Speak button will be enabled. This lets you tap on any text in the page: it will be read aloud and highlighted.
Alternatively when this button is unchecked on the toolbar, the other features become available. Now if you wish to hear text spoken, select the text on screen and then tap the Play icon.
Settings
To adjust how Read&Write for iOS works you can access the Settings panel from the Settings icon within Read&Write. 
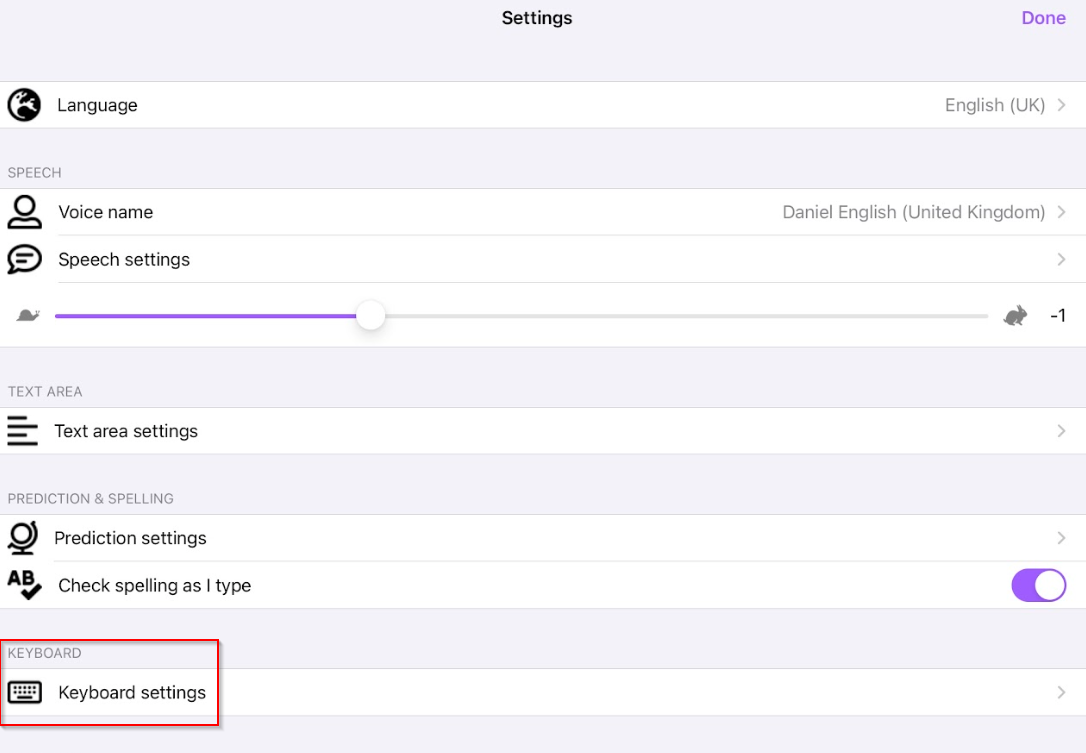
Inside the settings, tap on Keyboard settings
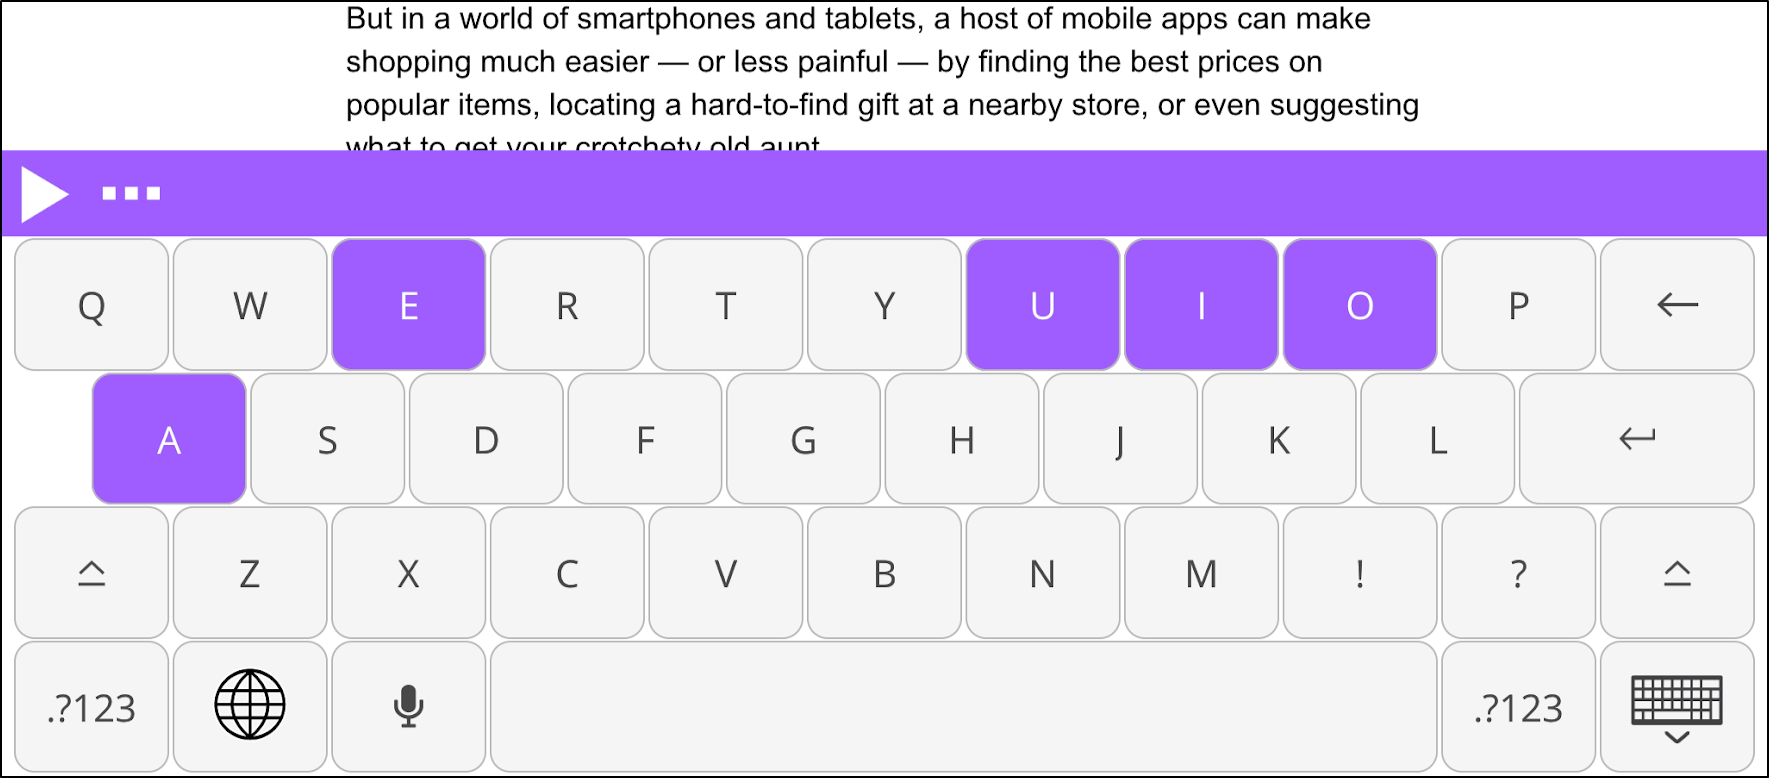
Highlight Vowels
Open the Read&Write for iOS settings > Keyboard settings, then toggle this option to see vowels highlighted on the keyboard in the theme colour:

Once active, vowels on the keyboard will then be highlighted
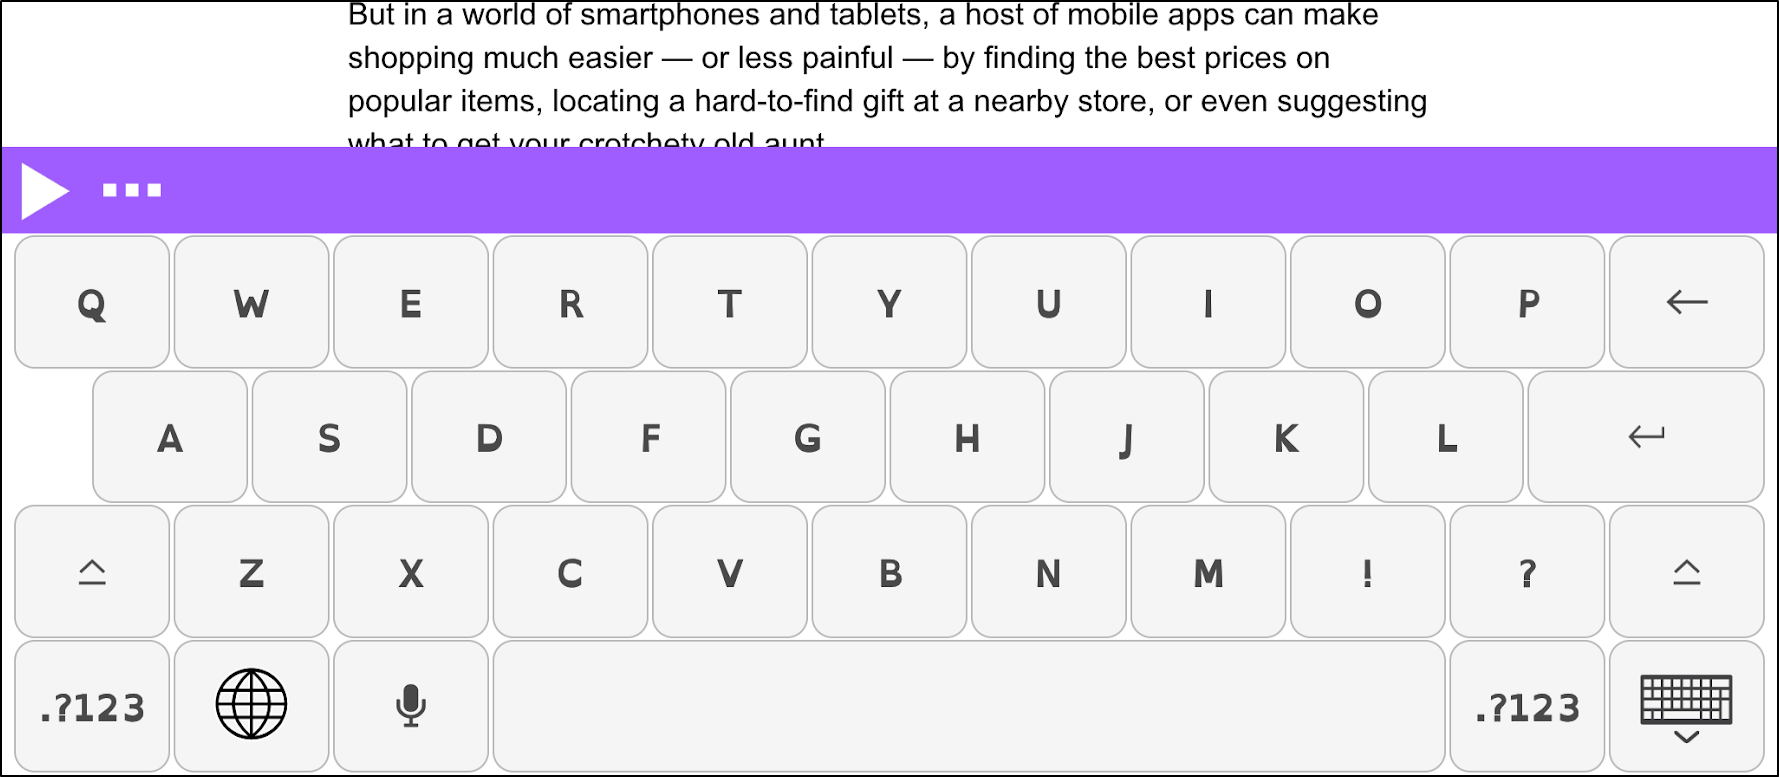
Use Open Dyslexic font
Open the Read&Write for iOS settings > Keyboard settings, then toggle this setting to change the keyboard font to Open Dyslexic:

Change Colour Theme
Open the Read&Write for iOS app to choose from five colour themes (purple, pink, teal, orange or green) for the keyboard. These options can be found in the Read&Write for iOS settings.

Speak As I Type
Open the Read&Write for iOS settings, then tap Speech Settings.

Under Speech Settings you can toggle this setting to switch Speak As I Type on or off. Speak As I Type reads each word and sentence aloud as you type them.

Continuous Reading
Open the Read&Write for iOS settings, then tap Speech Settings.

In Speech Settings you can toggle Continuous Reading on to have speech automatically continue after each sentence.

Sign in with an Existing Read&Write Account
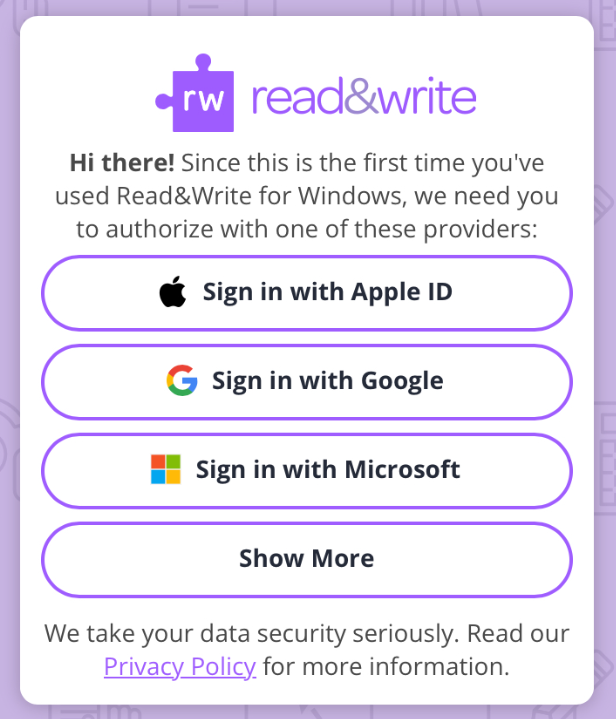
Click the Sign in button to link the application to your Google or Microsoft account to enable all of the premium features.
Or
Click the Enter Serial or Product Code button to enter a qualifying Read&Write serial number or product code which will enable all of the premium features.
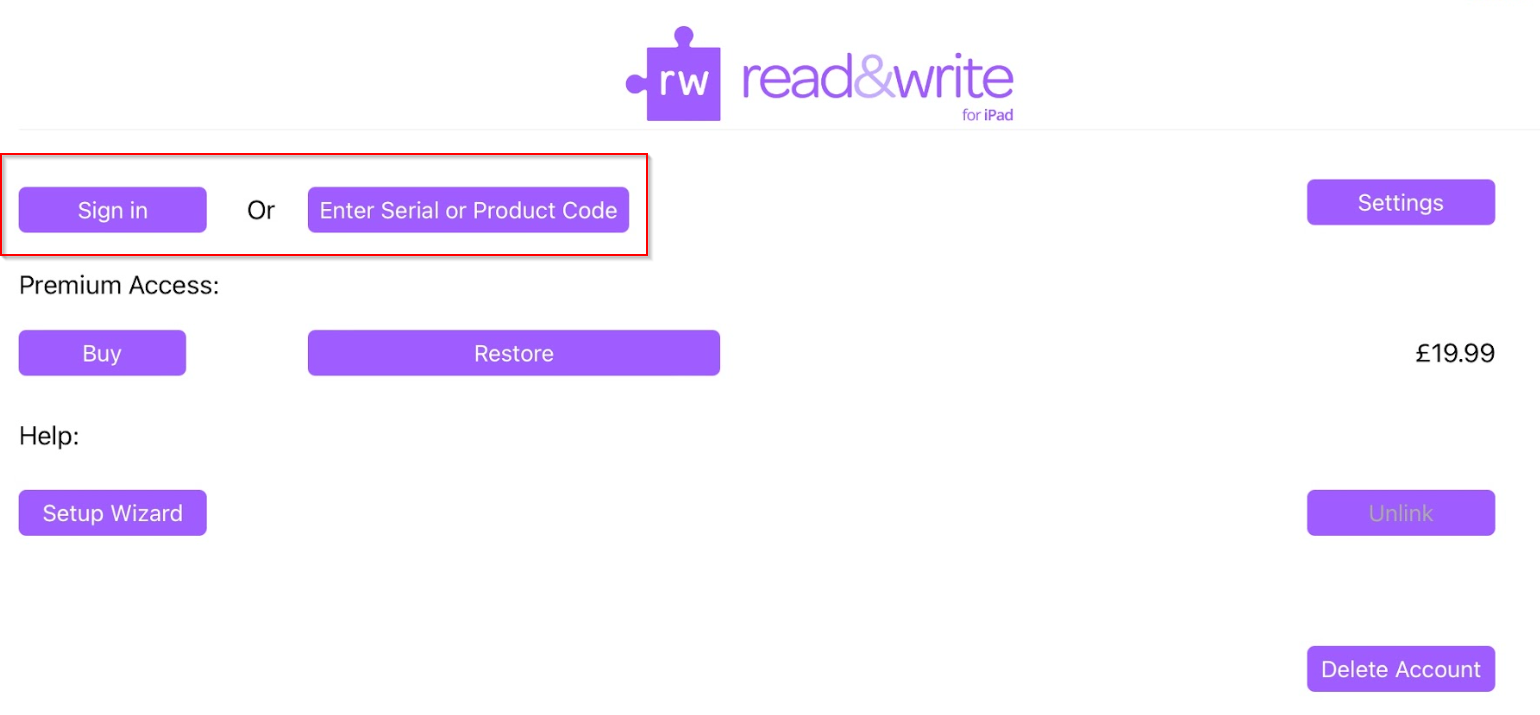
Premium Access:
Buy
If you’ve downloaded Read&Write for iOS from the App Store and don’t have an existing Read&Write subscription with a serial number, product code, or linked Google or Microsoft account, you can enable premium features by using the Buy button. You can also contact us to purchase a Read&Write subscription which gives you access to premium features on all platforms including iOS devices.
Help:
Setup Wizard
This button will take you back through the Setup Wizard, allowing you to view the keyboard setup video.
Using The Read&Write For iOS Writing Area
Read&Write for iOS now includes a writing area where you can create and manage documents with built in support tools.
The short Read&Write for iOS - How to Use the Writing App video will take you through how this feature can be used.
Quick Reference Guide
The Read&Write for iOS Quick Reference Guide breaks down the tools available showing the name and icon of each tool.
Be aware that Read&Write for iPad doesn’t support importing of images from PDF or Word documents at this time. Only text will be imported.
