The Exam Mode in Read&Write for Windows allows a teacher or admin to turn Read&Write toolbar features off for exams. To use Exam Mode, each user will need to sign into Windows with a unique login.
Exam Mode can be used to turn features off for one student on a particular computer where they will take an exam. The Advanced Exam Mode can be used to turn features off for large numbers of computers or users on your network, or to set up a date range in the future for Exam Mode to be automatically enabled.
When Exam Mode is enabled, the student will have access to:
Only the selected Read&Write features on the toolbar
Quick Access Speech settings including voice selection, speed, pitch and Speak As I Type, Read by and Continuous Reading
Choose from the options below:
How to use Exam Mode
Please note this setting will only apply to the local computer and Windows user that is currently logged in.
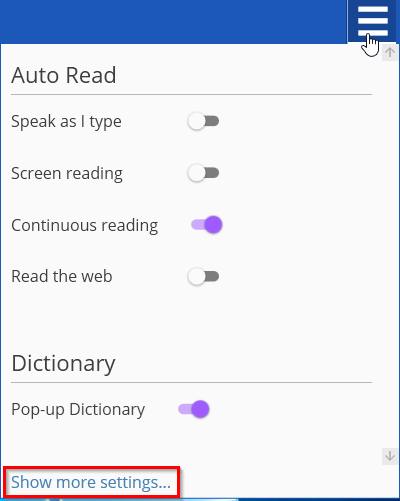
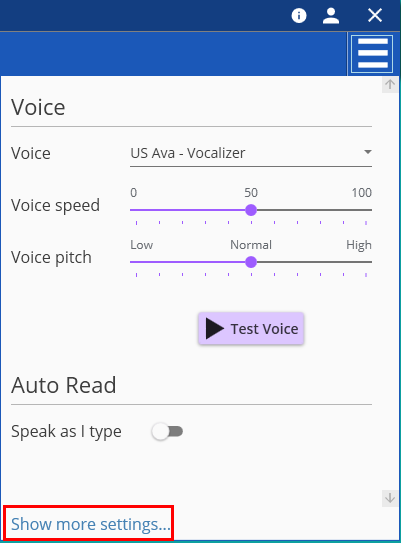
Run Read&Write as the student taking the exam, and click on the Settings button and then Show more settings…
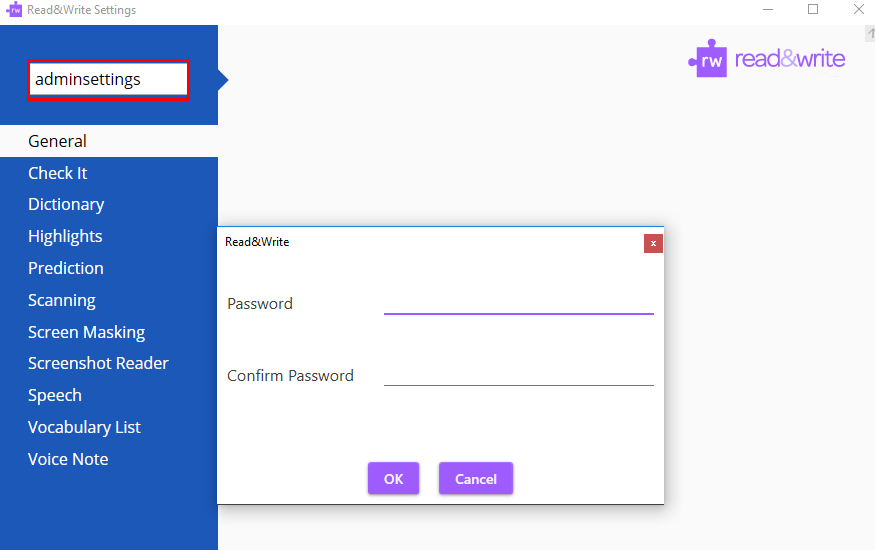
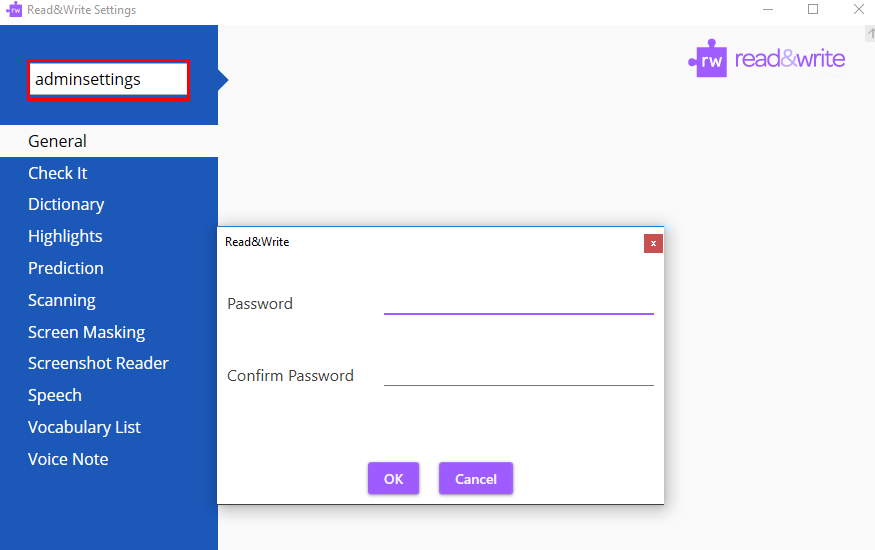
In the Find a Setting box type adminsettings
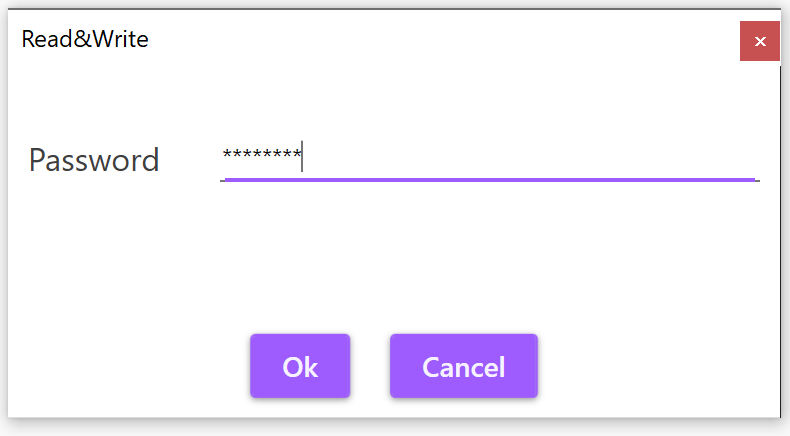
You’ll be asked to enter and confirm a password. Once these have been entered, click OK.
Note: this password will give you access to the Administrator settings of Read&Write on this computer only
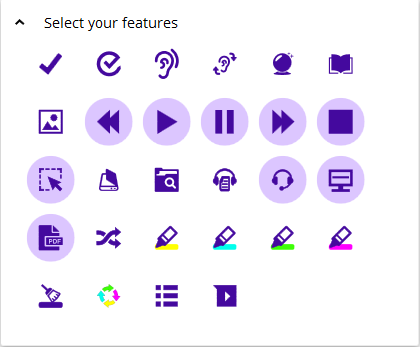
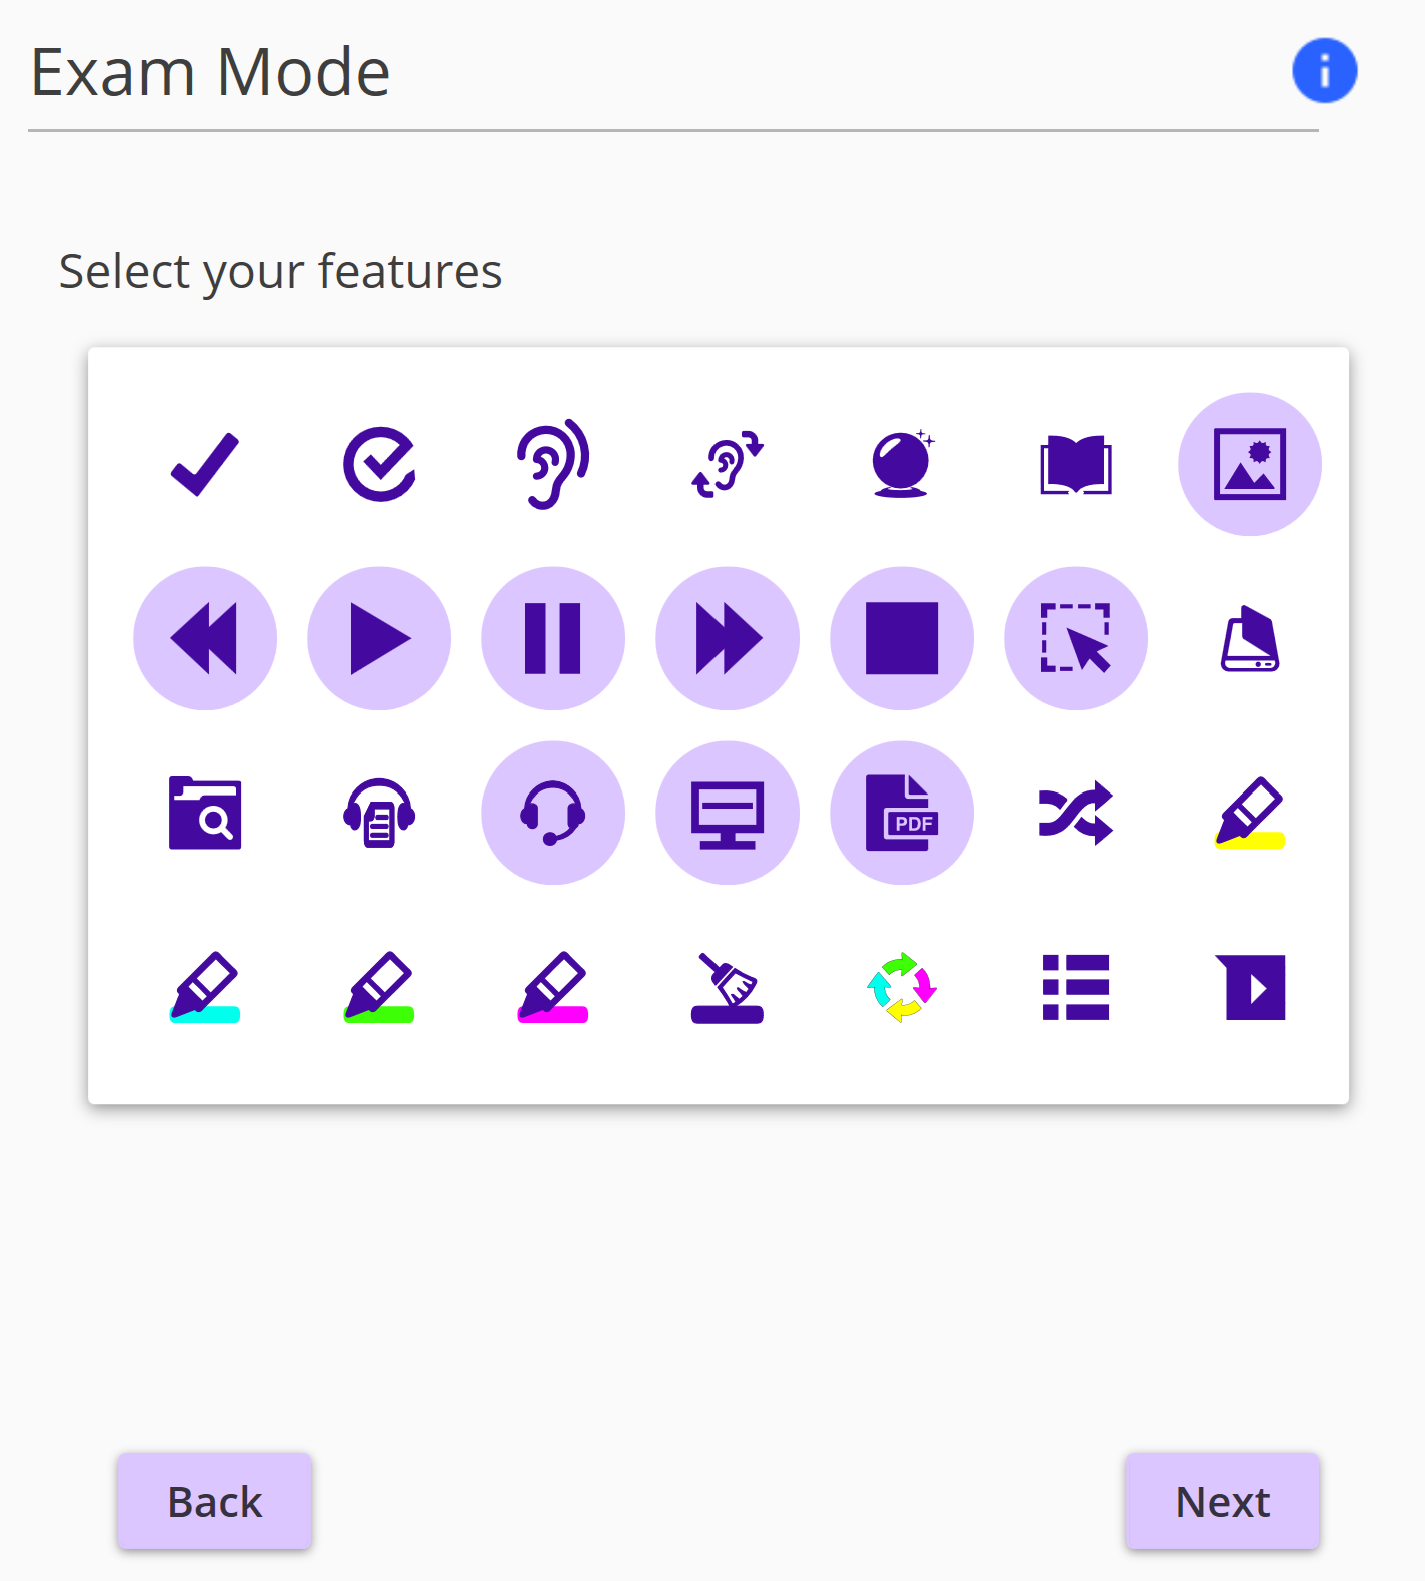
Once logged into the Administrator settings, click on the Select your features tab and select the features you’d like to have enabled on the student’s toolbar
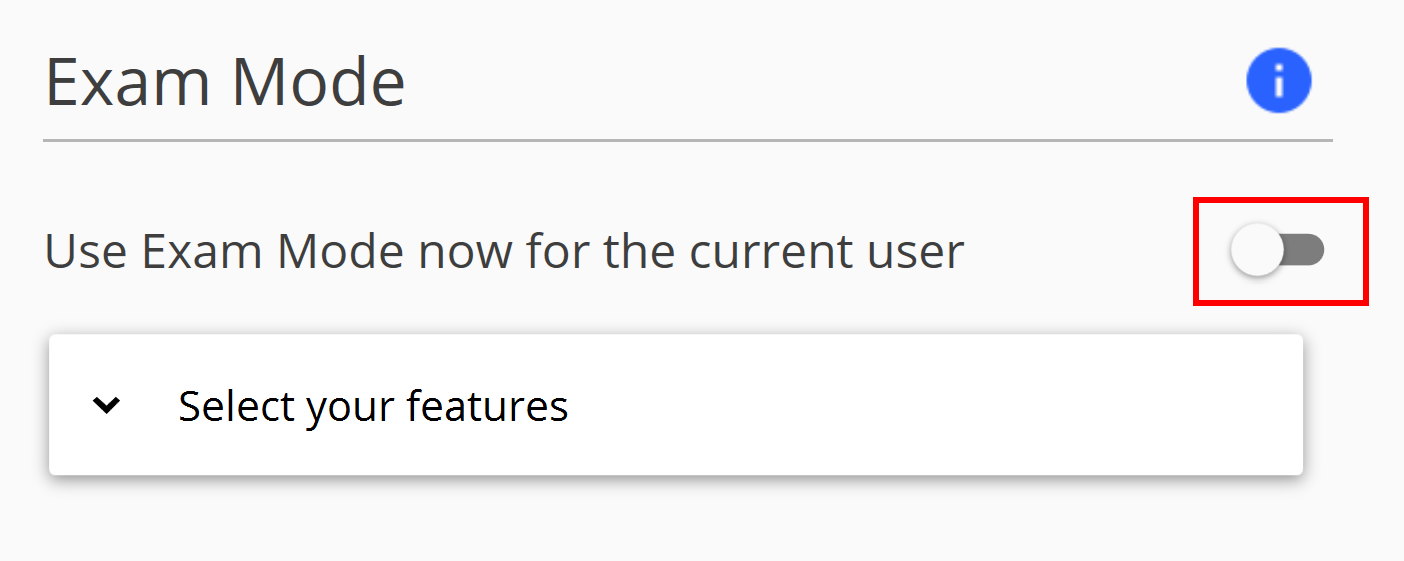
Toggle on Use Exam Mode now for the current user to start Exam Mode.
Close the Read&Write settings menu. Read&Write is now ready for the student to take the exam.

Once the exam is finished, to switch off Exam Mode:
Click on the Settings button and then Show more settings…
Enter the password that you created when switching on Exam Mode and click OK
Turn off the Use Exam Mode now for the current user toggle. All buttons and settings will now be available again on the Read&Write toolbar.
Close the Read&Write Settings window
How To Use Advanced Exam Mode
This setting will allow you to apply Exam Mode settings to multiple users or computers on your network, and/or select a date range for Exam Mode to be automatically enabled.
Important:- Before setting up Exam Mode, make sure that Read&Write has been closed for any users Exam Mode will be set up for. The same Windows User account should not be used for all Read&Write Exam users. Each Read&Write exam user will need an Individual Windows User account. |
Run Read&Write and click on the Settings button and then Show more settings…
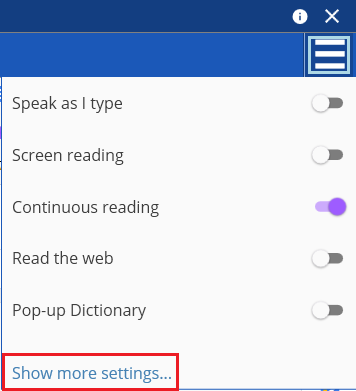
In the Find a Setting box type adminsettings
You’ll be asked to enter and confirm a password. Once you’ve entered a password, click OK.
IMPORTANT: If you have deployed Read&Write on your network with user settings stored in a network folder, this will be the master password for Exam Mode settings on all Read&Write installations. If there will be multiple teachers or admins configuring Exam Mode, be sure to share this password with them. |
Once logged into the Administrator settings, click on the Get Started button under Advanced Exam Mode
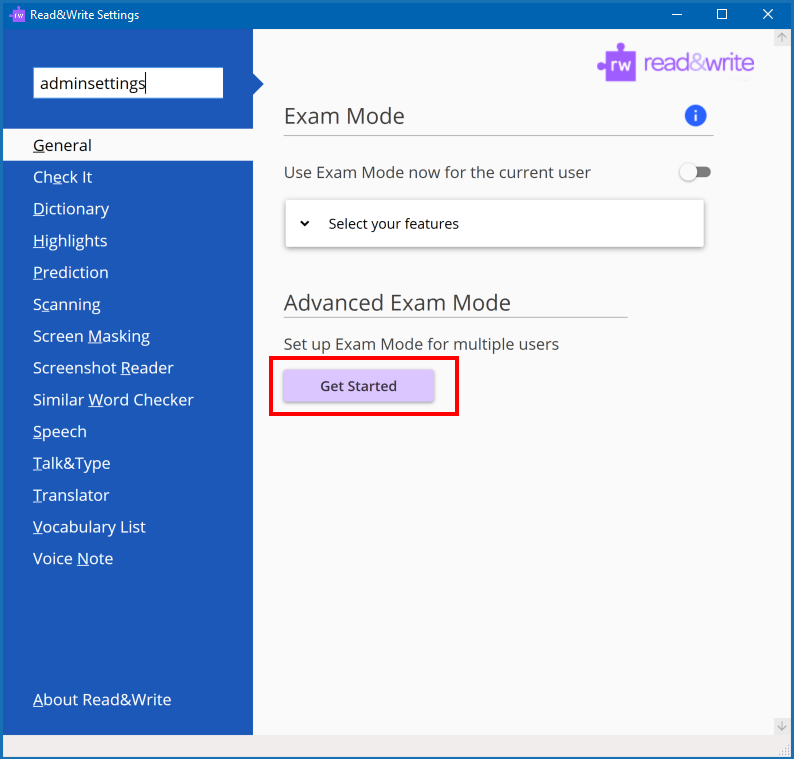
There are 3 possible options to setup Advanced Exam Mode:
Read&Write User settings are stored in a shared network folder option (this is the only option you need if you installed using the Multi-User Setup Tool)
Device only setup option
Deployment of Exam settings option
Read&Write User settings are stored in a network folder option
If you have set up Read&Write on your network with user settings stored in a central folder, next you will see a list of your Read&Write users.
Important:- Please ensure your users have full permissions to the Read&Write Users folder and Read/Write permissions to the Read&Write Admin folder. |
You also have the option to import users from Active Directory via a CSV. To do this:-
First export a CSV of your users from Active Directory
Click Import Users from CSV. The CSV file should contain a list of users with one user name per line. We’ve included an Example CSV file.
Note: If your Read&Write user settings are stored locally, you will not see these options.
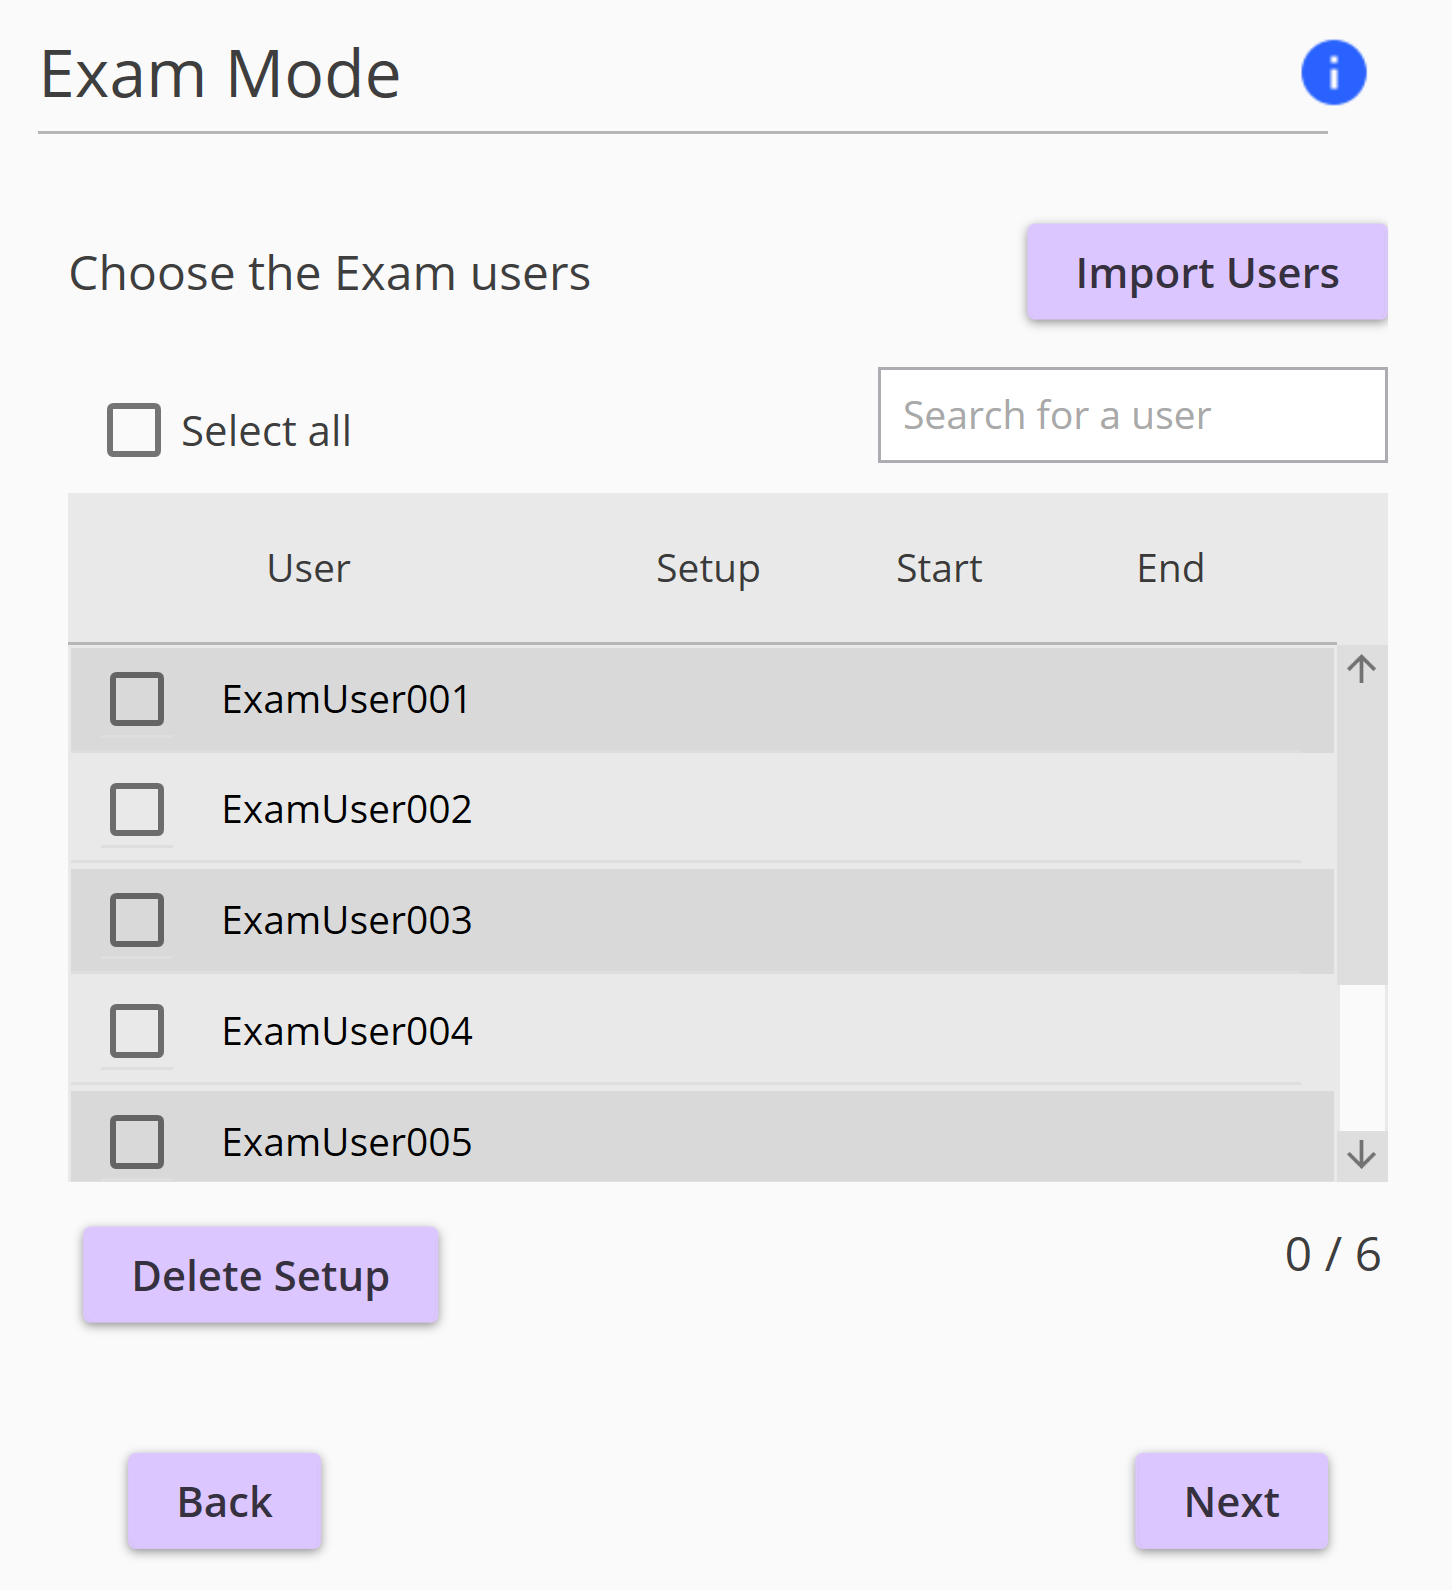
Select which users you would like to set up for Exam Mode, then click Next.
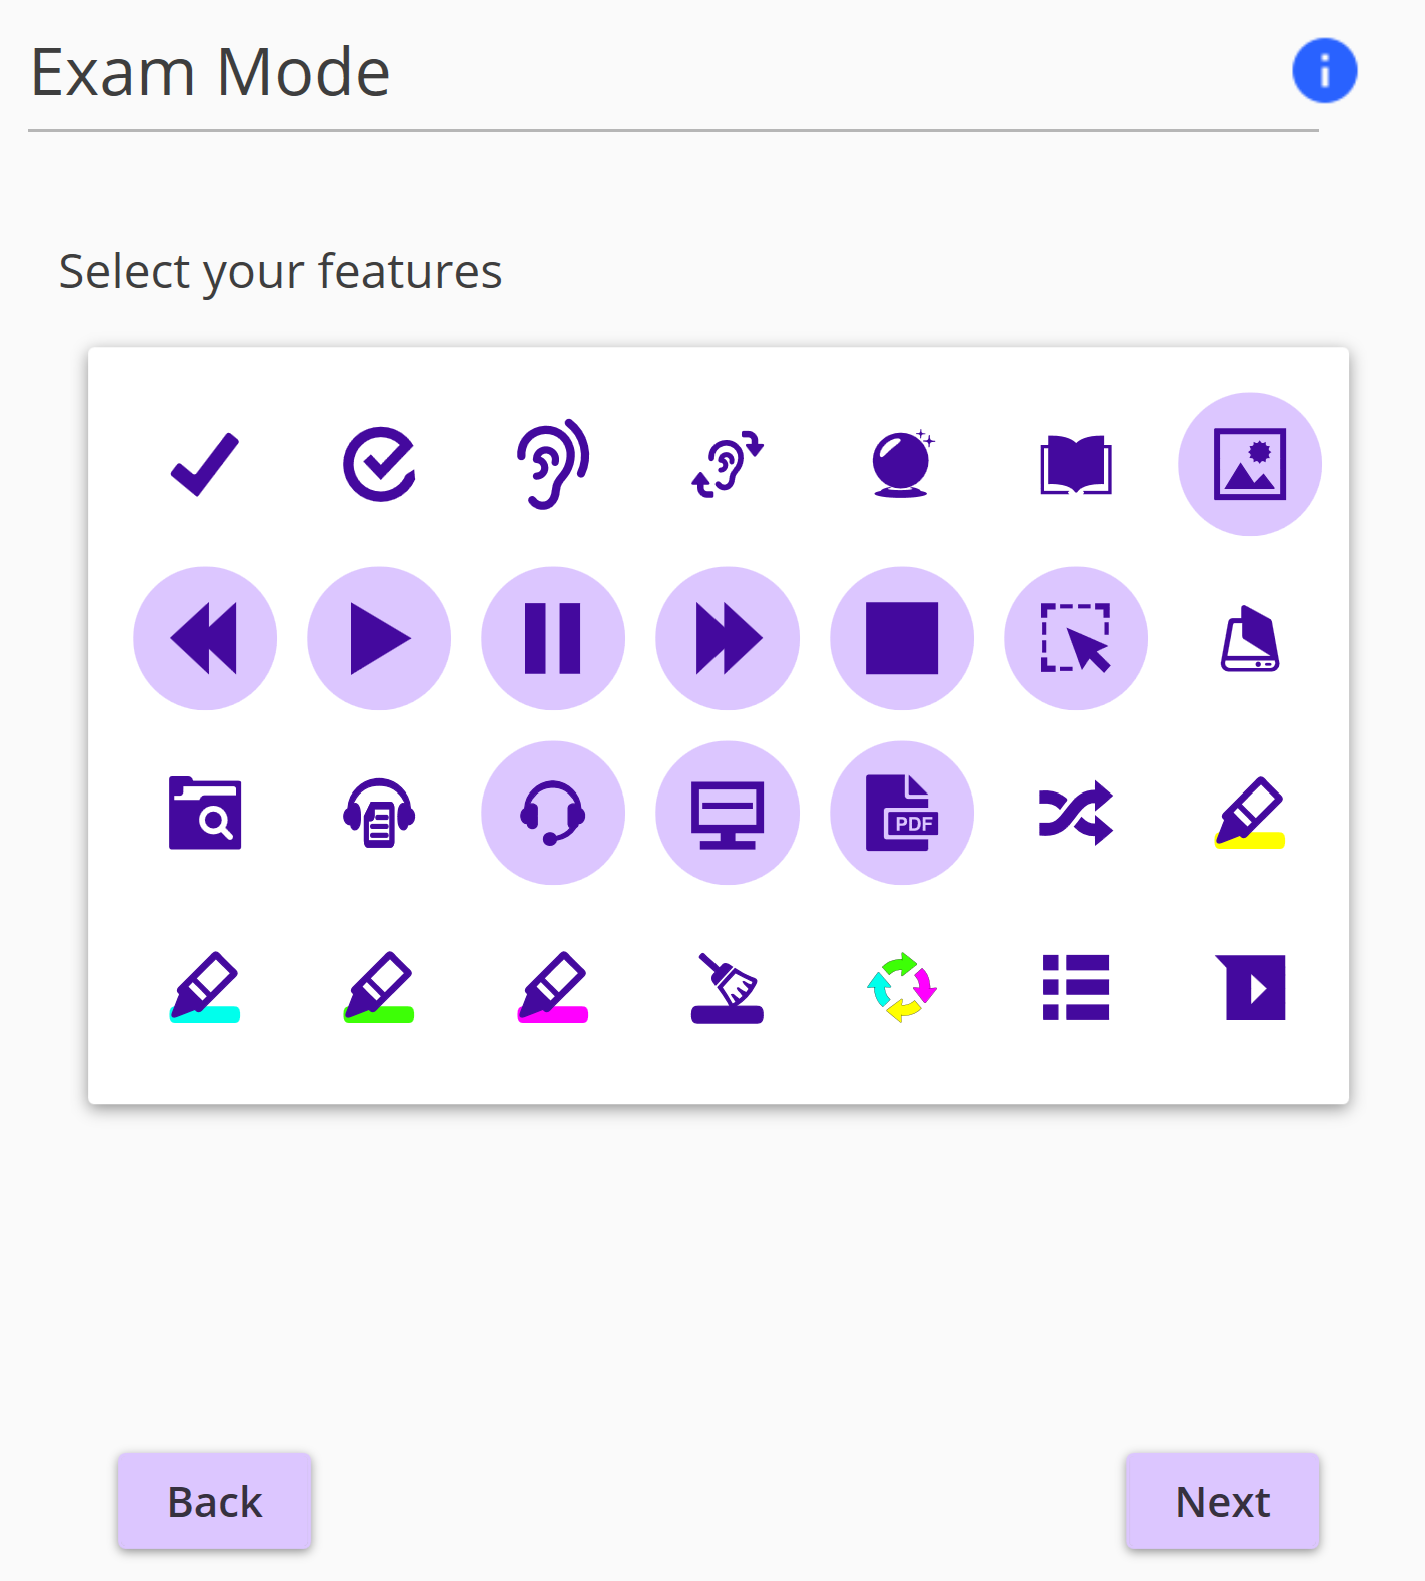
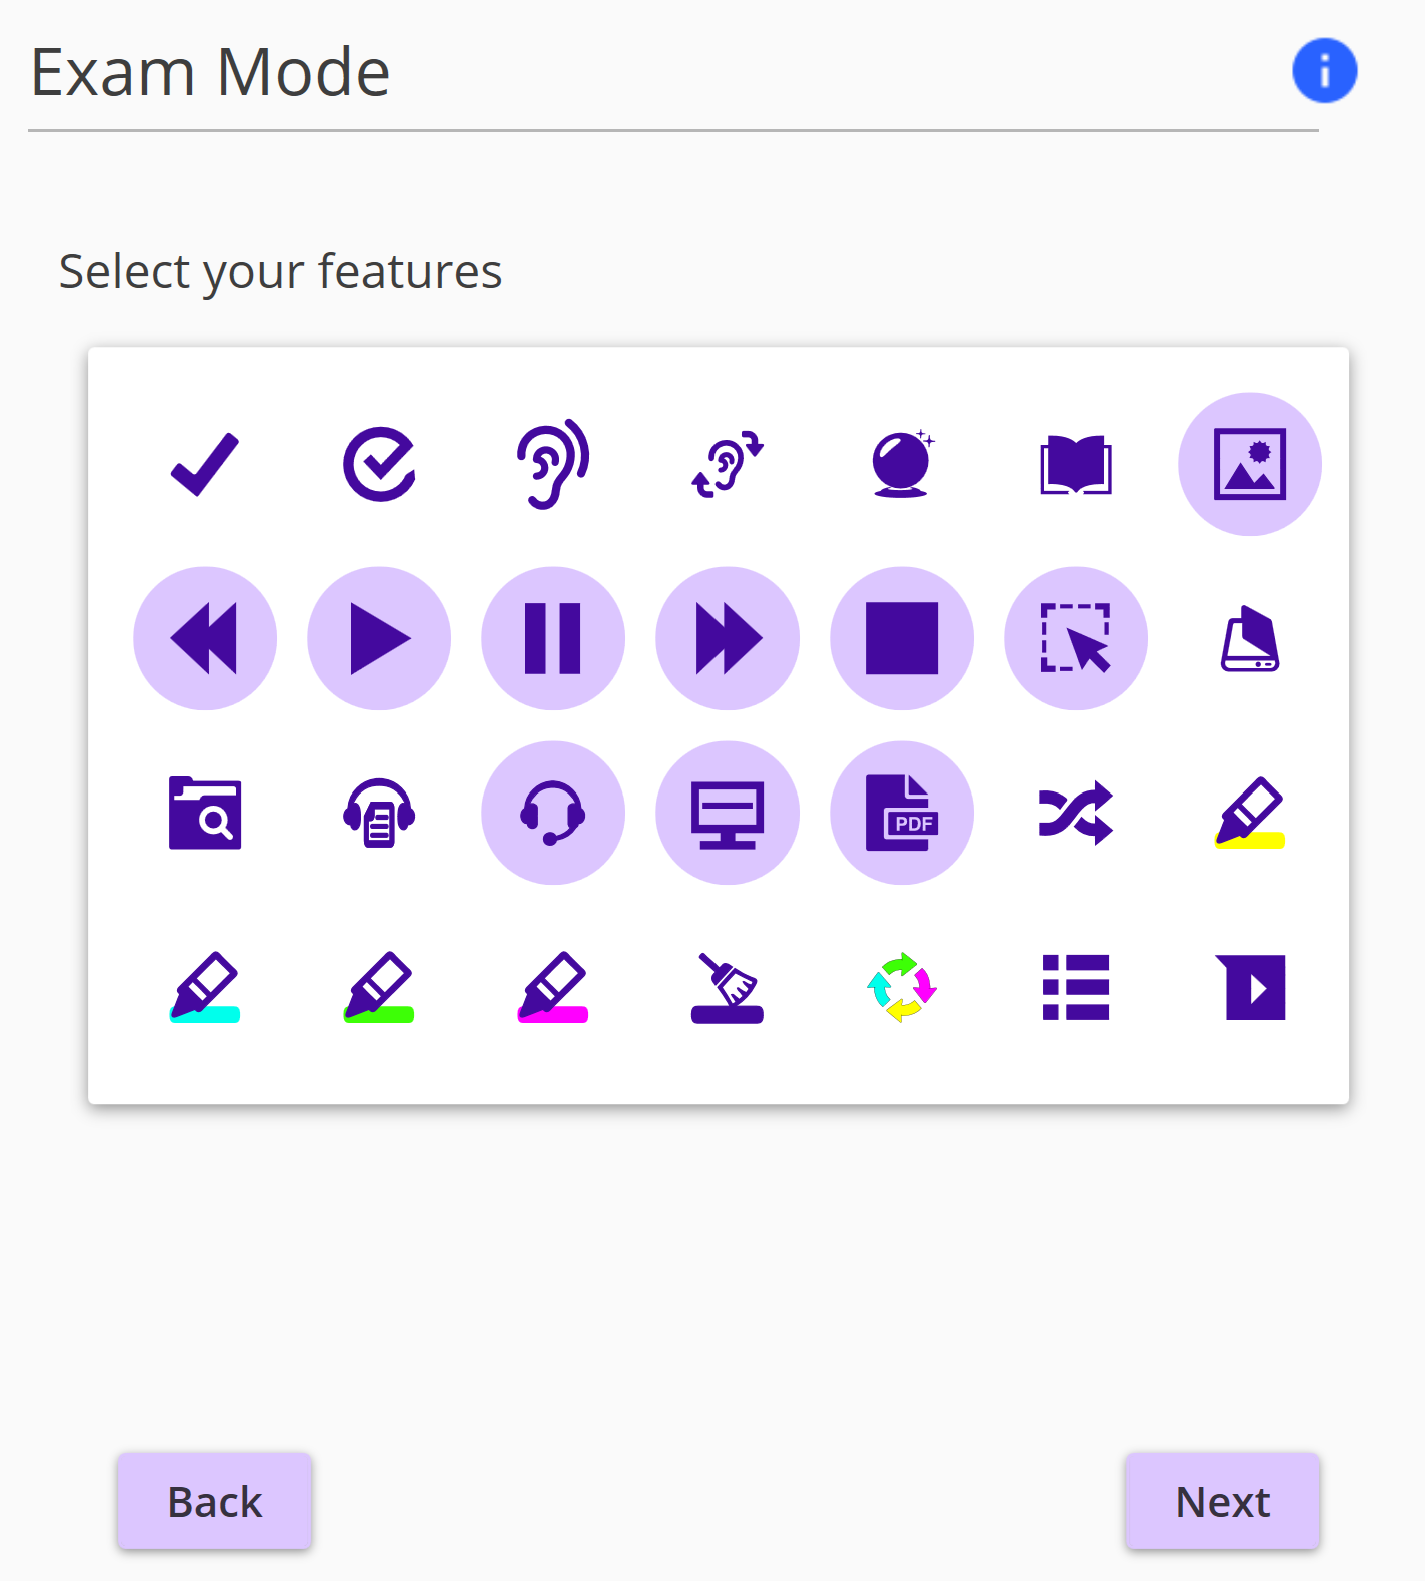
Select the features you would like enabled on the Read&Write toolbar and click Next.
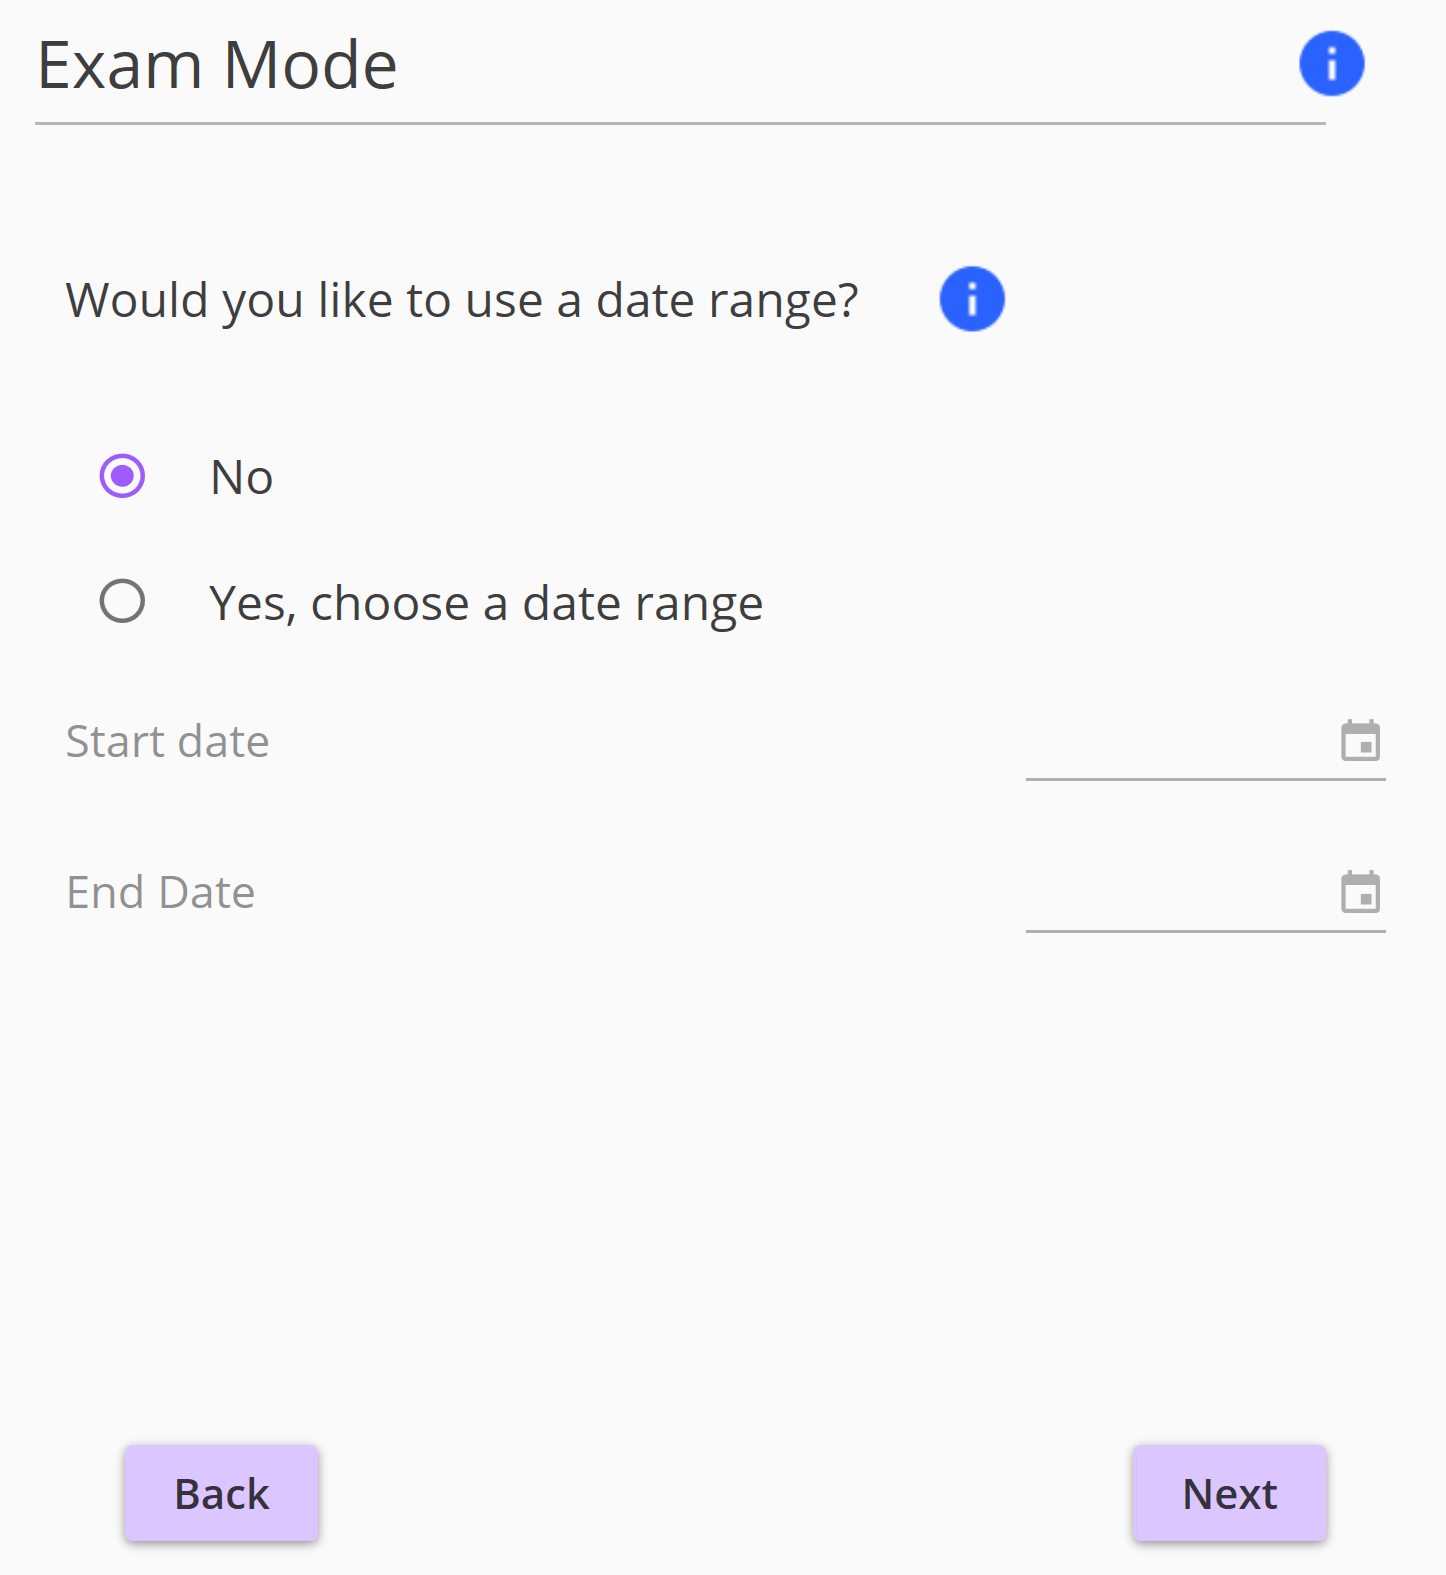
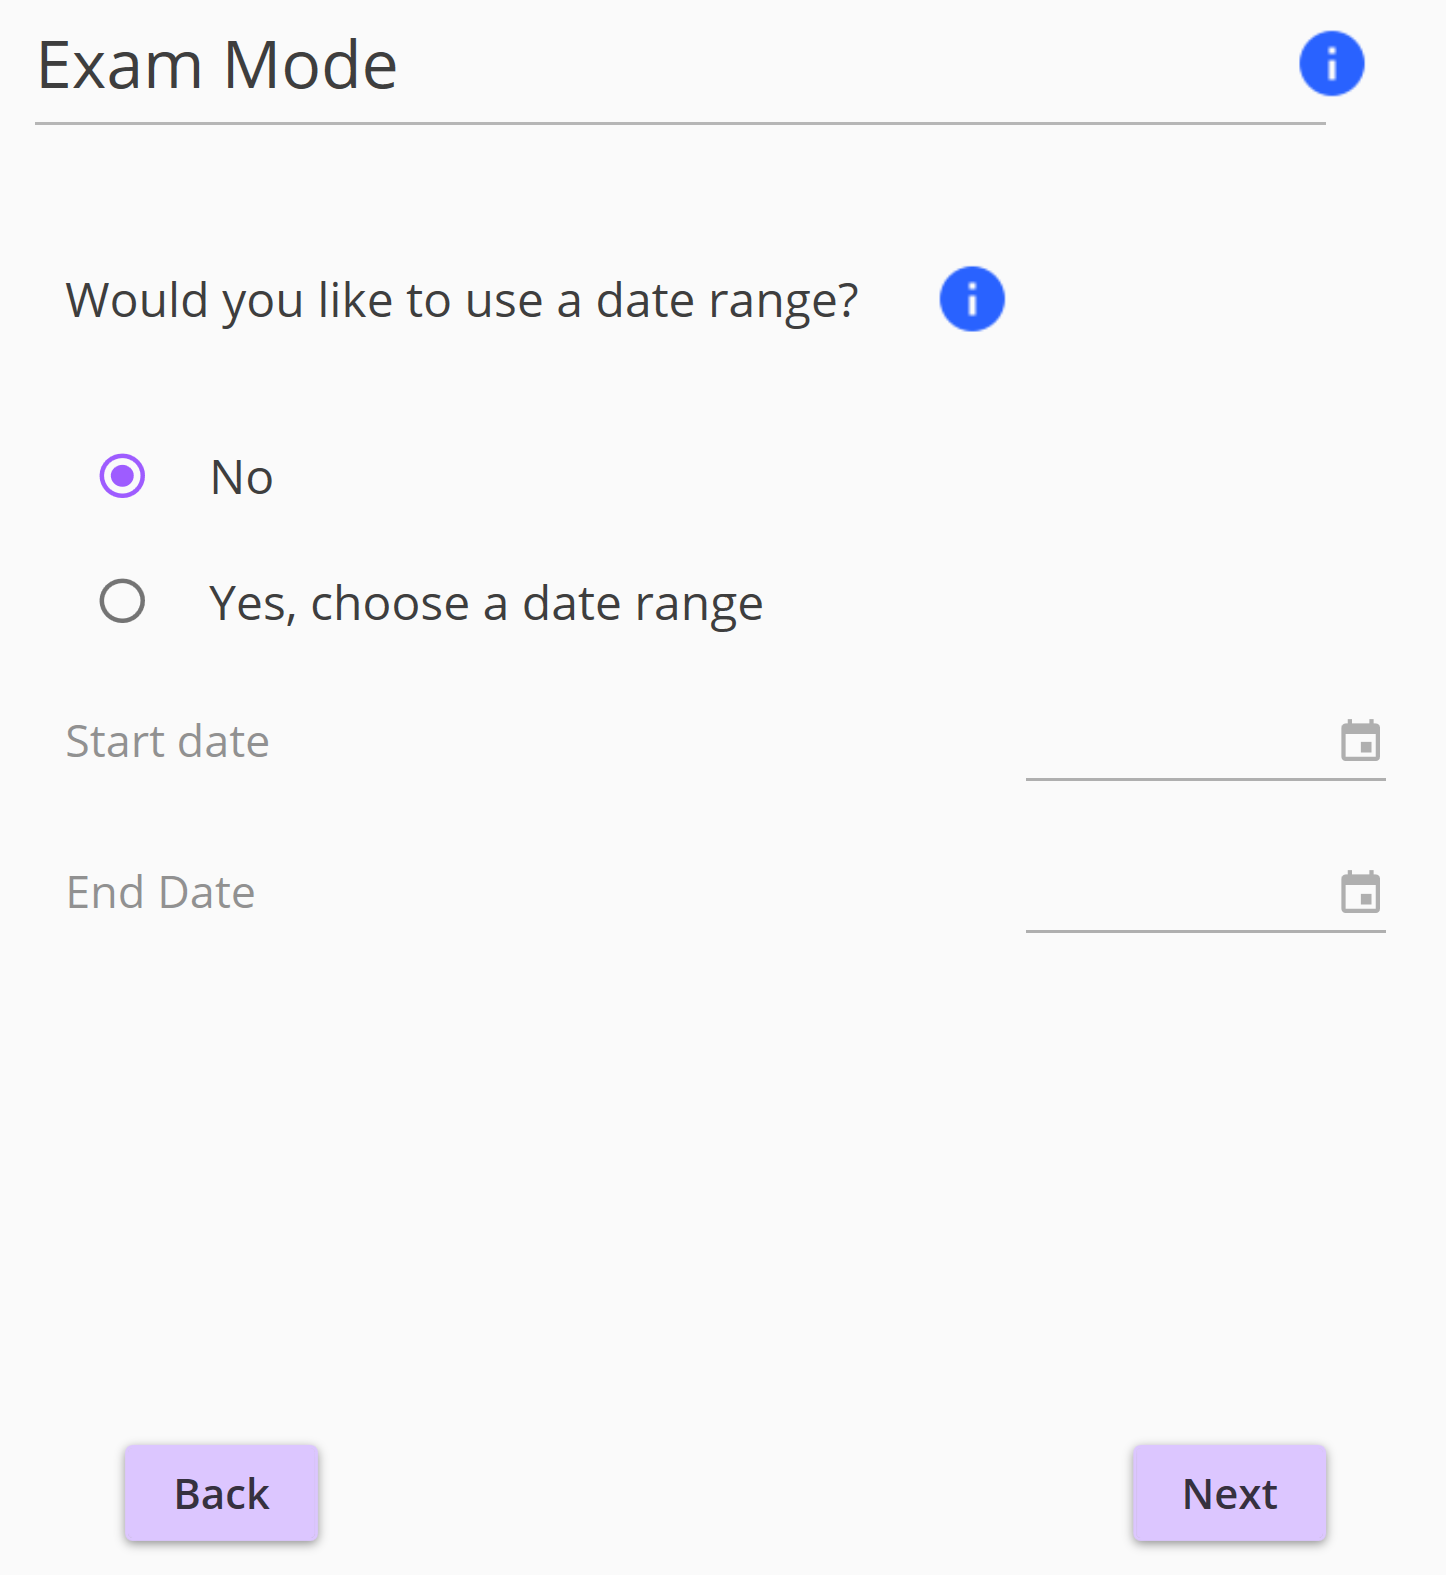
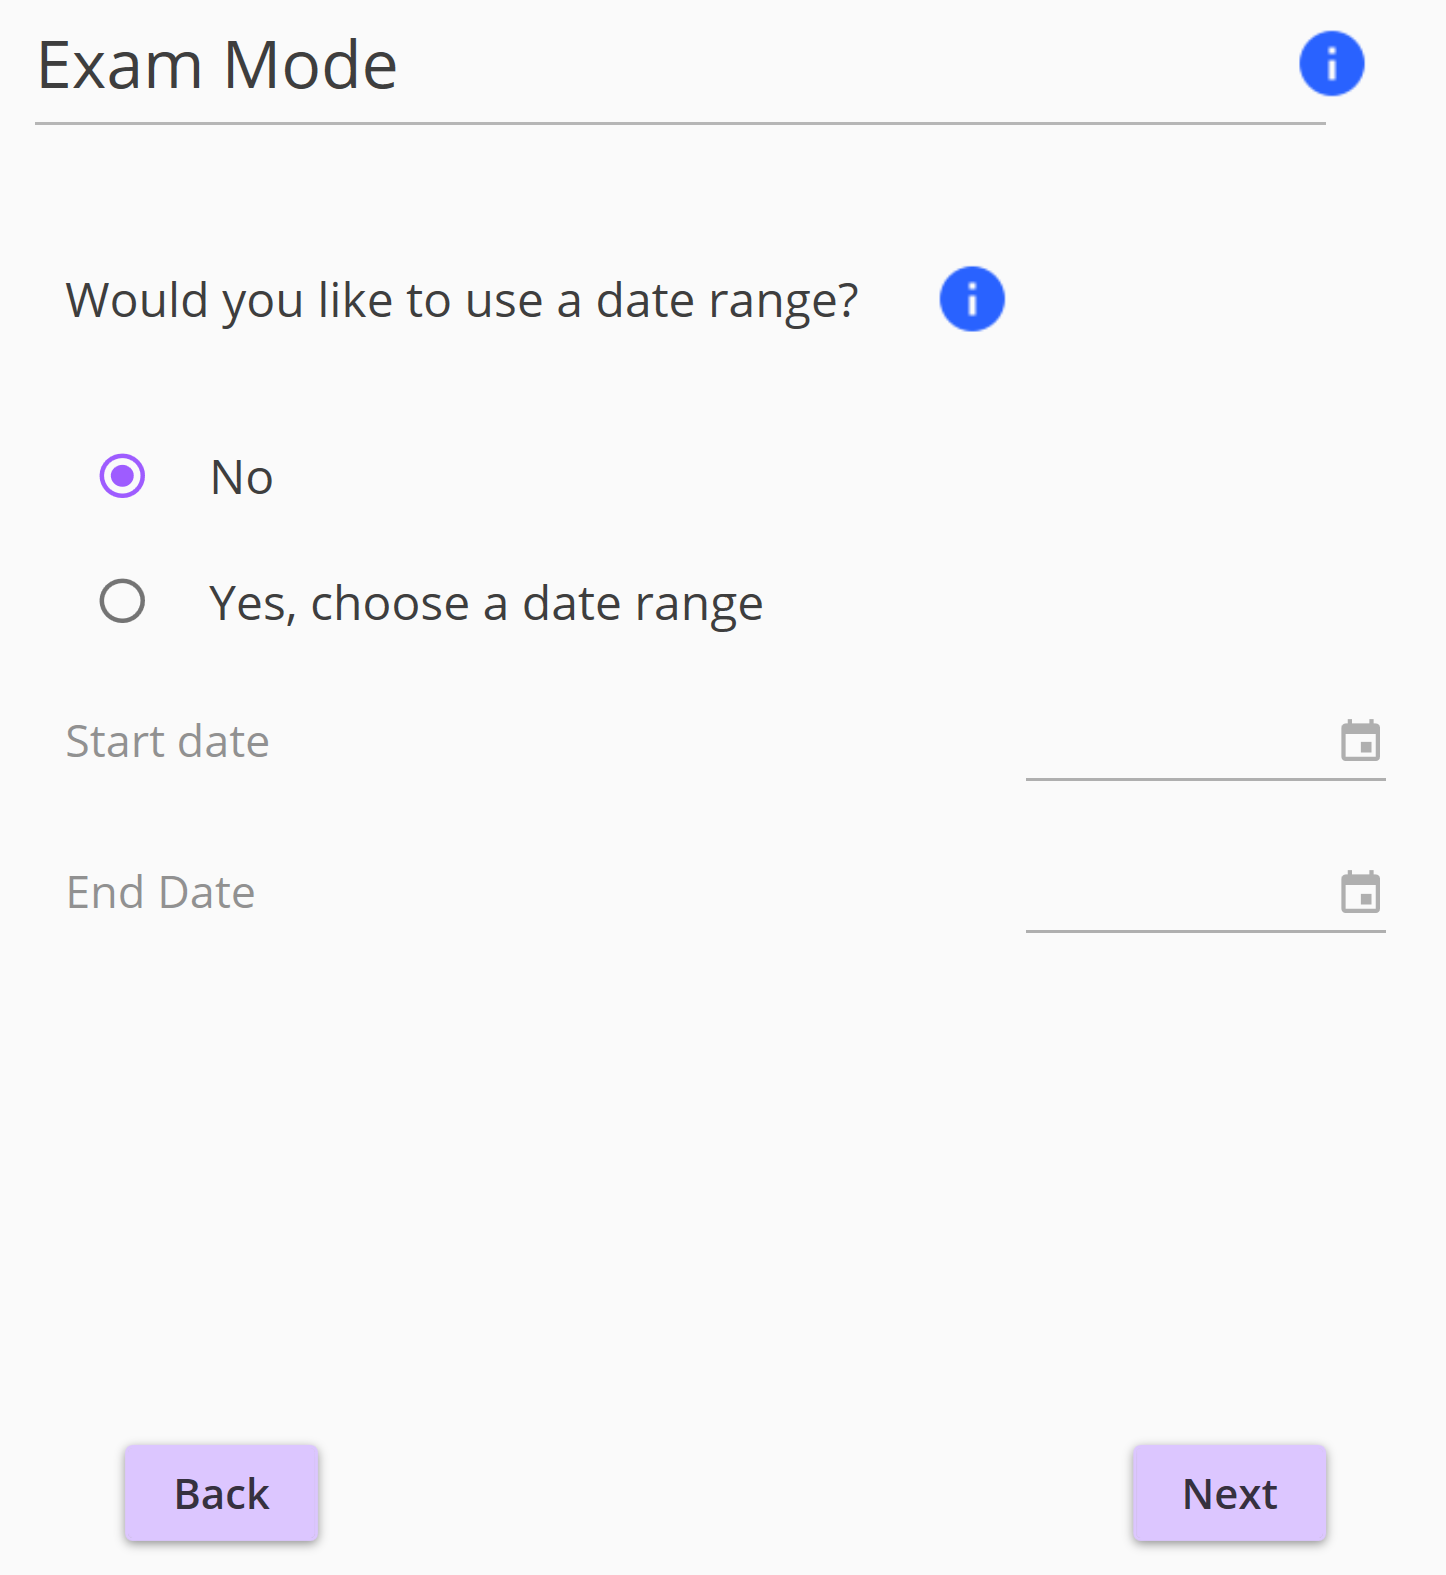
Choose if you would like Exam Mode to be switched on within a date range.
If you choose No, Exam Mode will be immediately turned on and will remain on until you turn it off.
If you choose Yes, choose a date range, Exam Mode will be turned on through the duration of the start date until 11:59:59 pm on the end date.
Click Next when finished
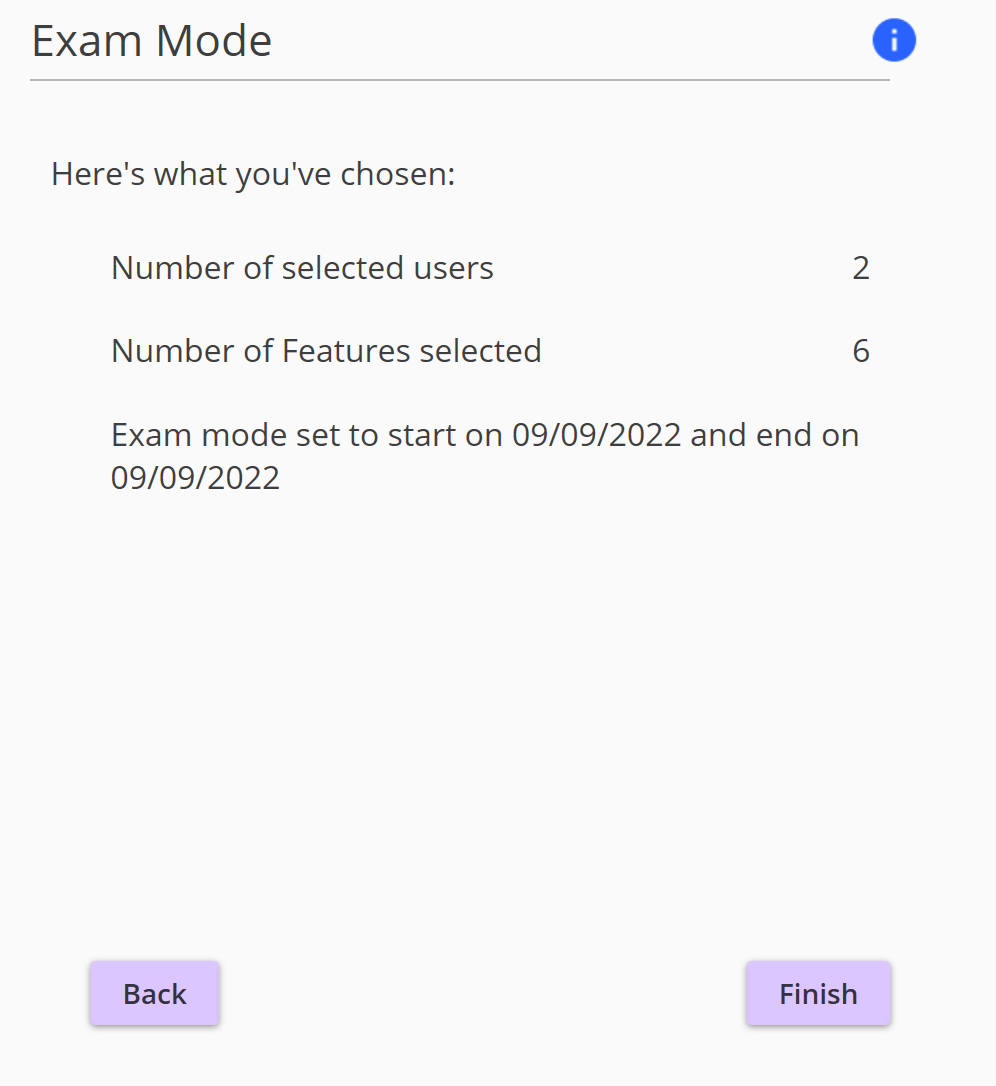
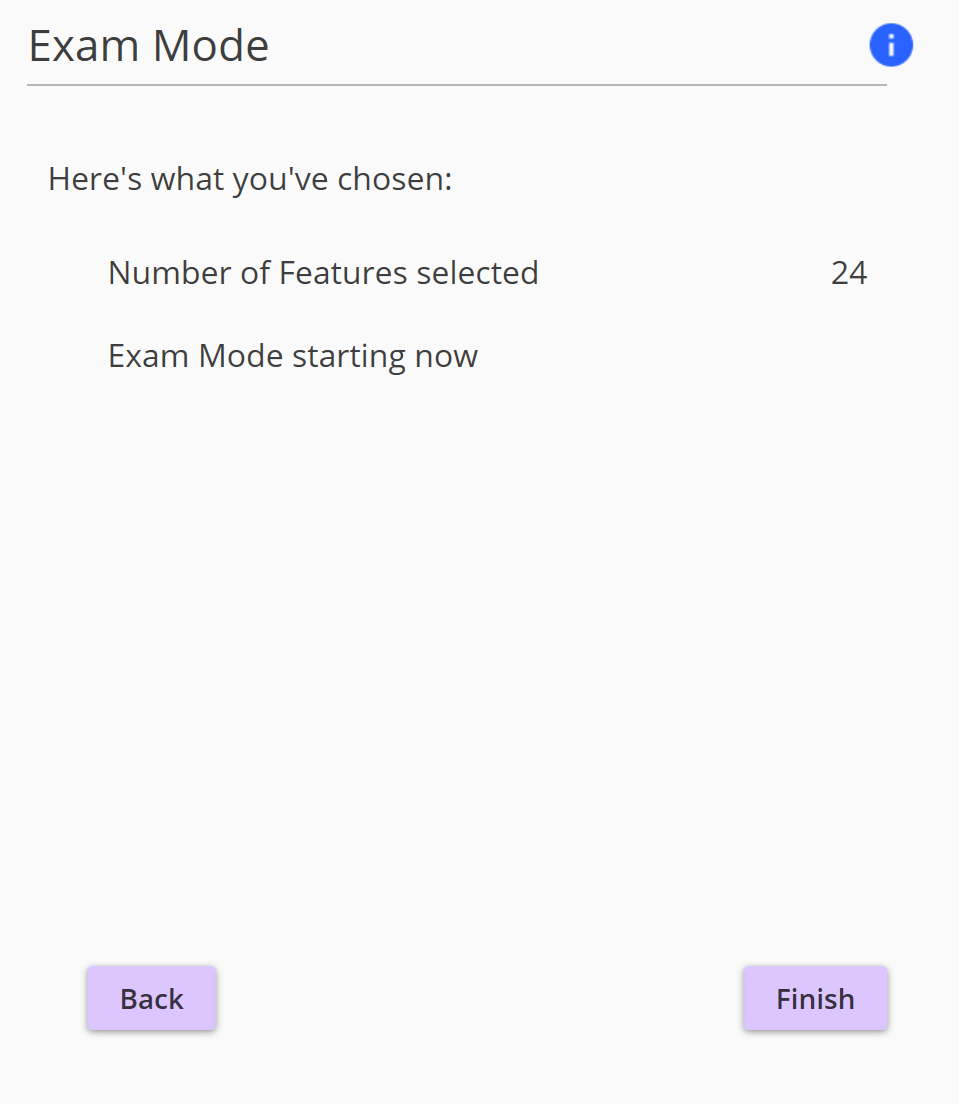
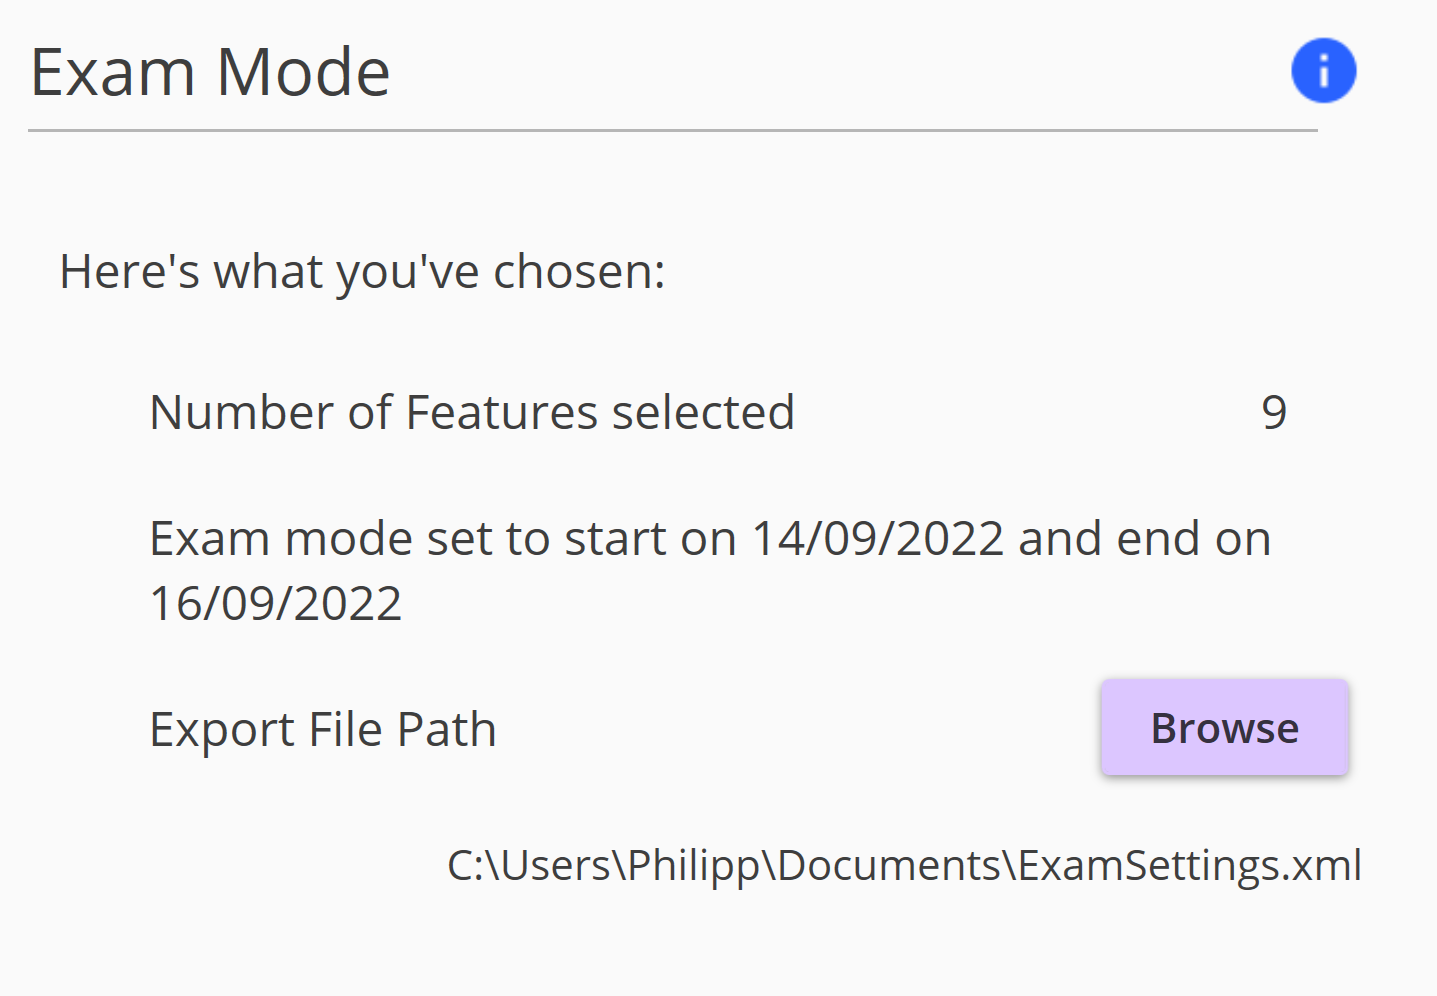
Review your selections on the Summary screen, use the Back button to make any changes, then click Finish.
Device only setup option
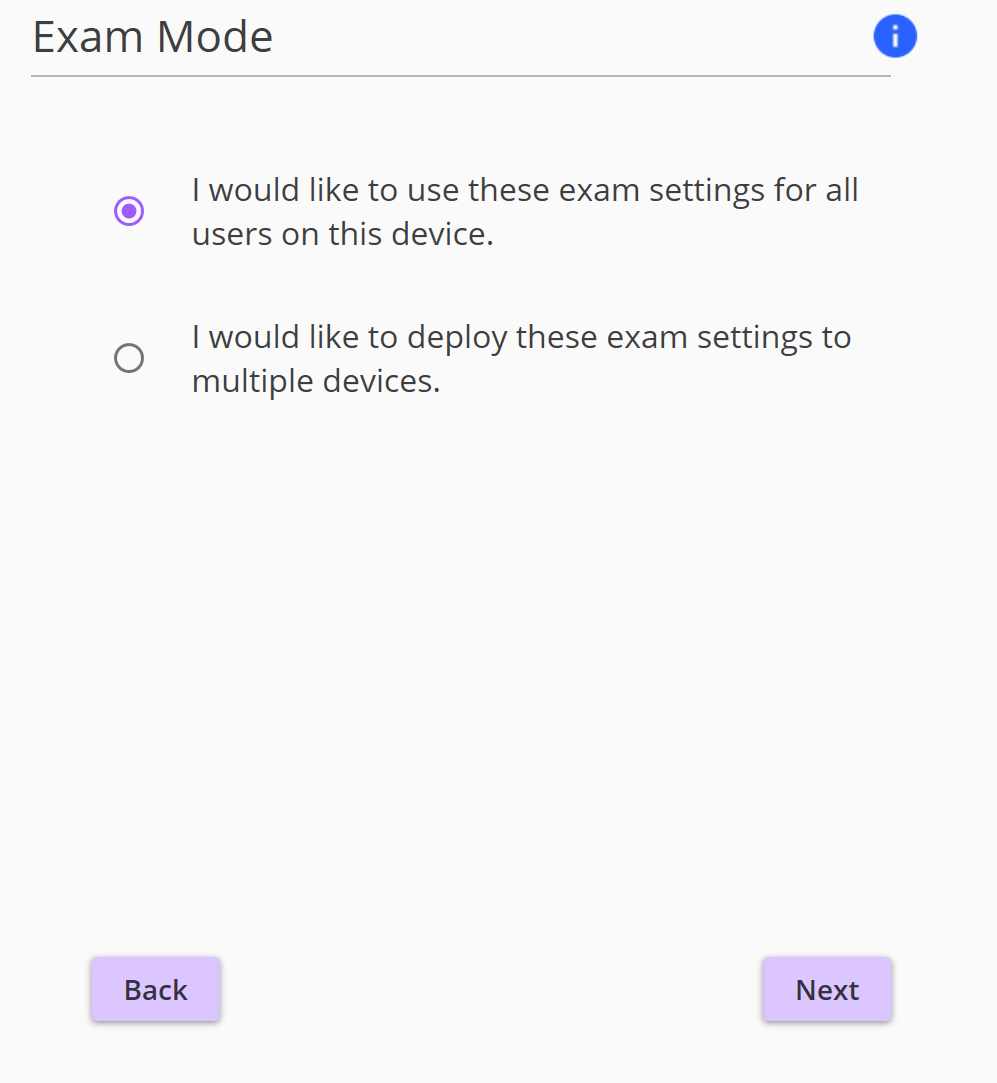
If you want to set up exam mode for all users on the current device follow this path
Select the features you would like enabled on the Read&Write toolbar and click Next.
Choose if you would like Exam Mode to be switched on within a date range.
If you choose No, Exam Mode will be immediately turned on and will remain on until you turn it off.
If you choose Yes, choose a date range, Exam Mode will be turned on through the duration of the start date until 11:59:59 pm on the end date.
Click Next when finished
Choose to set up exam mode for this device
Deployment of Exam settings option
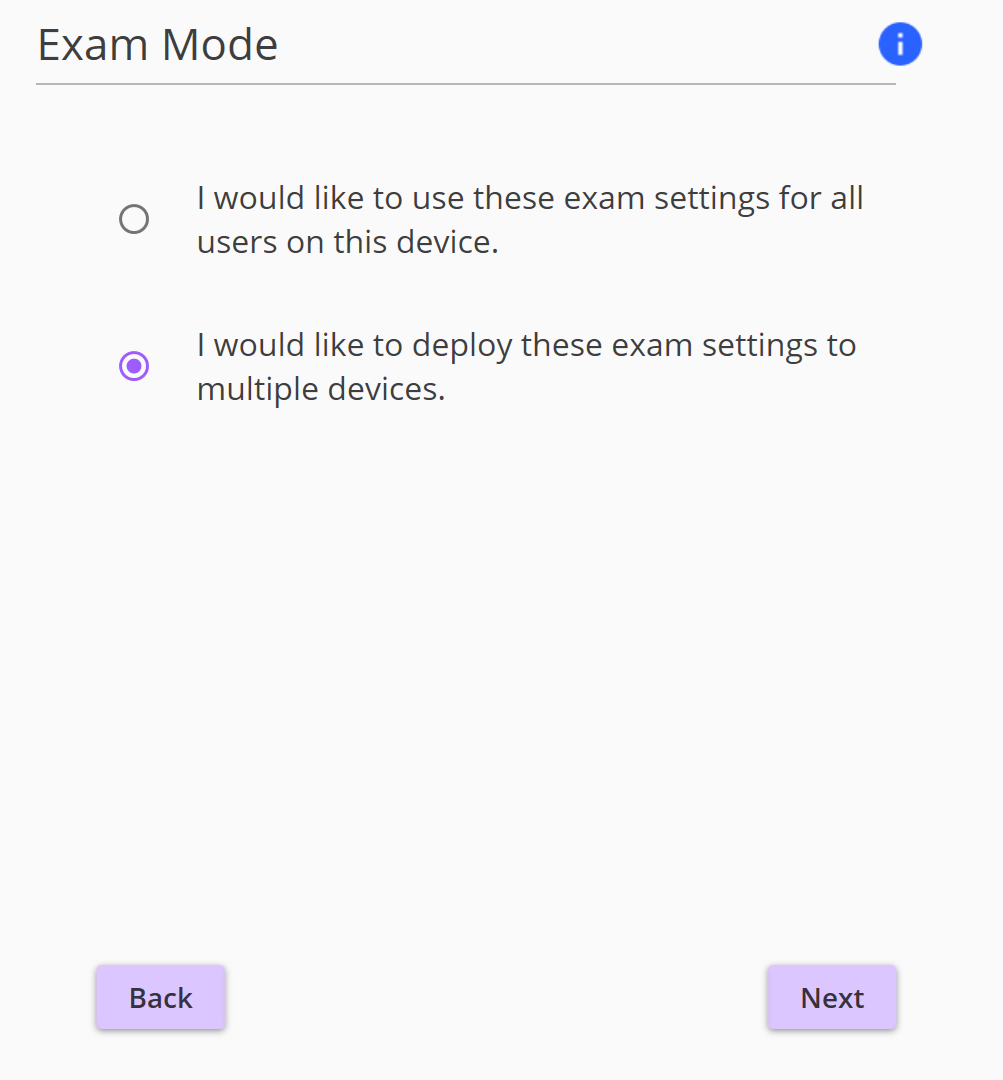
If you want to deploy the Exam Settings to multiple users or devices within your organisation follow this path:
Select the features you would like enabled on the Read&Write toolbar and click Next.
Choose if you would like Exam Mode to be switched on within a date range.
If you choose No, Exam Mode will be immediately turned on and will remain on until you turn it off.
If you choose Yes, choose a date range, Exam Mode will be turned on through the duration of the start date until 11:59:59 pm on the end date.
Click Next when finished
Choose the deployment option
In the summary screen, you’ll see an option to create a file called ExamSettings.xml that can be deployed to your exam computers using a deployment method such as SCCM.
For device exam mode deployment, push out the ExamSettings.xml file to this folder on each device C:\ProgramData\Texthelp\ReadAndWrite\
Alternatively for individual users, push out the ExamSettings.xml file to the Read&Write user settings folder.
If your Read&Write settings are stored on the server, this will be in the Read&Write Users folder at the location you selected.
If you chose to store the Read&Write settings on the local computer, this will be in C:\Users\USERNAME\AppData\Roaming\Texthelp\ReadAndWrite\12
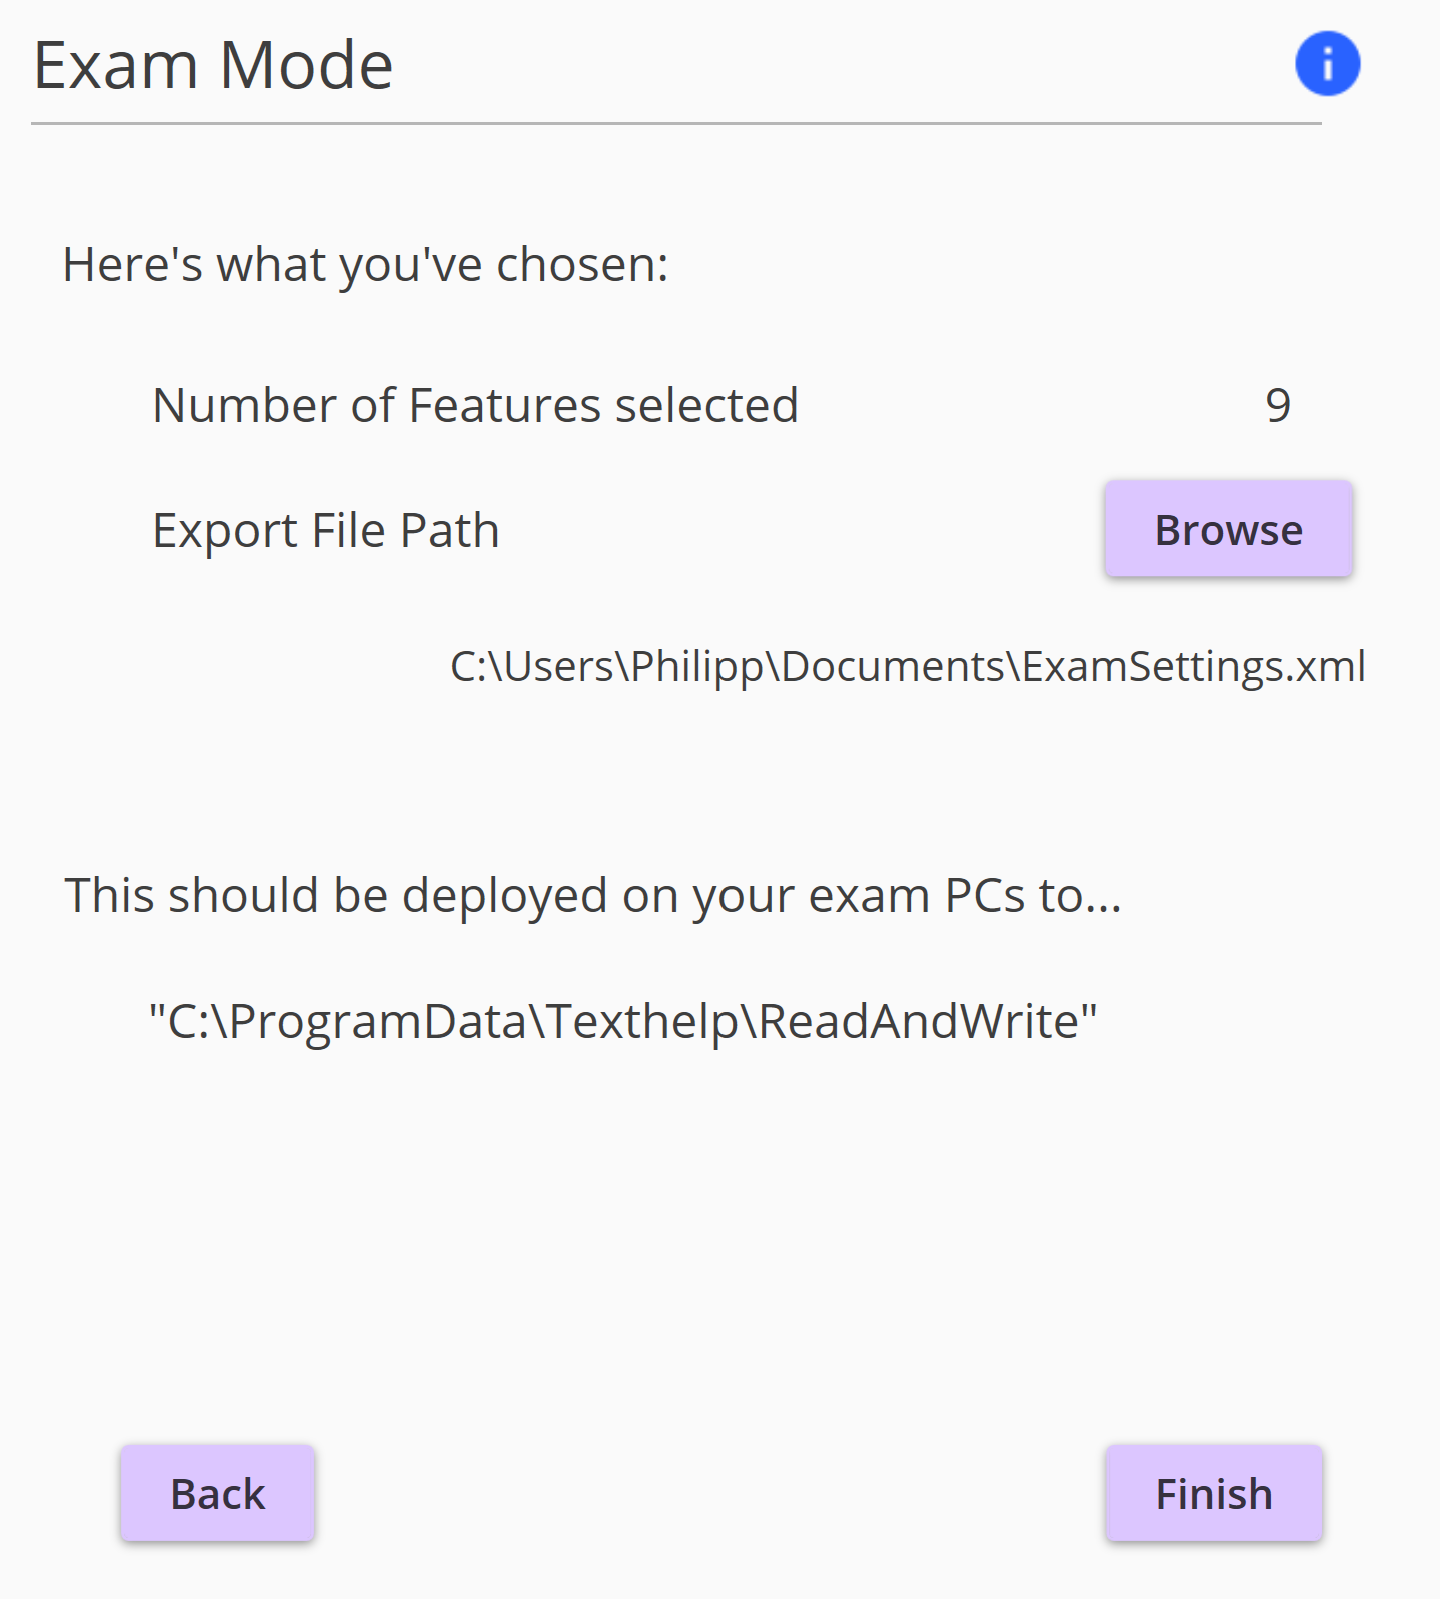
Review your selections on the Summary screen, use the Back button to make any changes, and click Finish.
Clearing an exam schedule for Device only setup
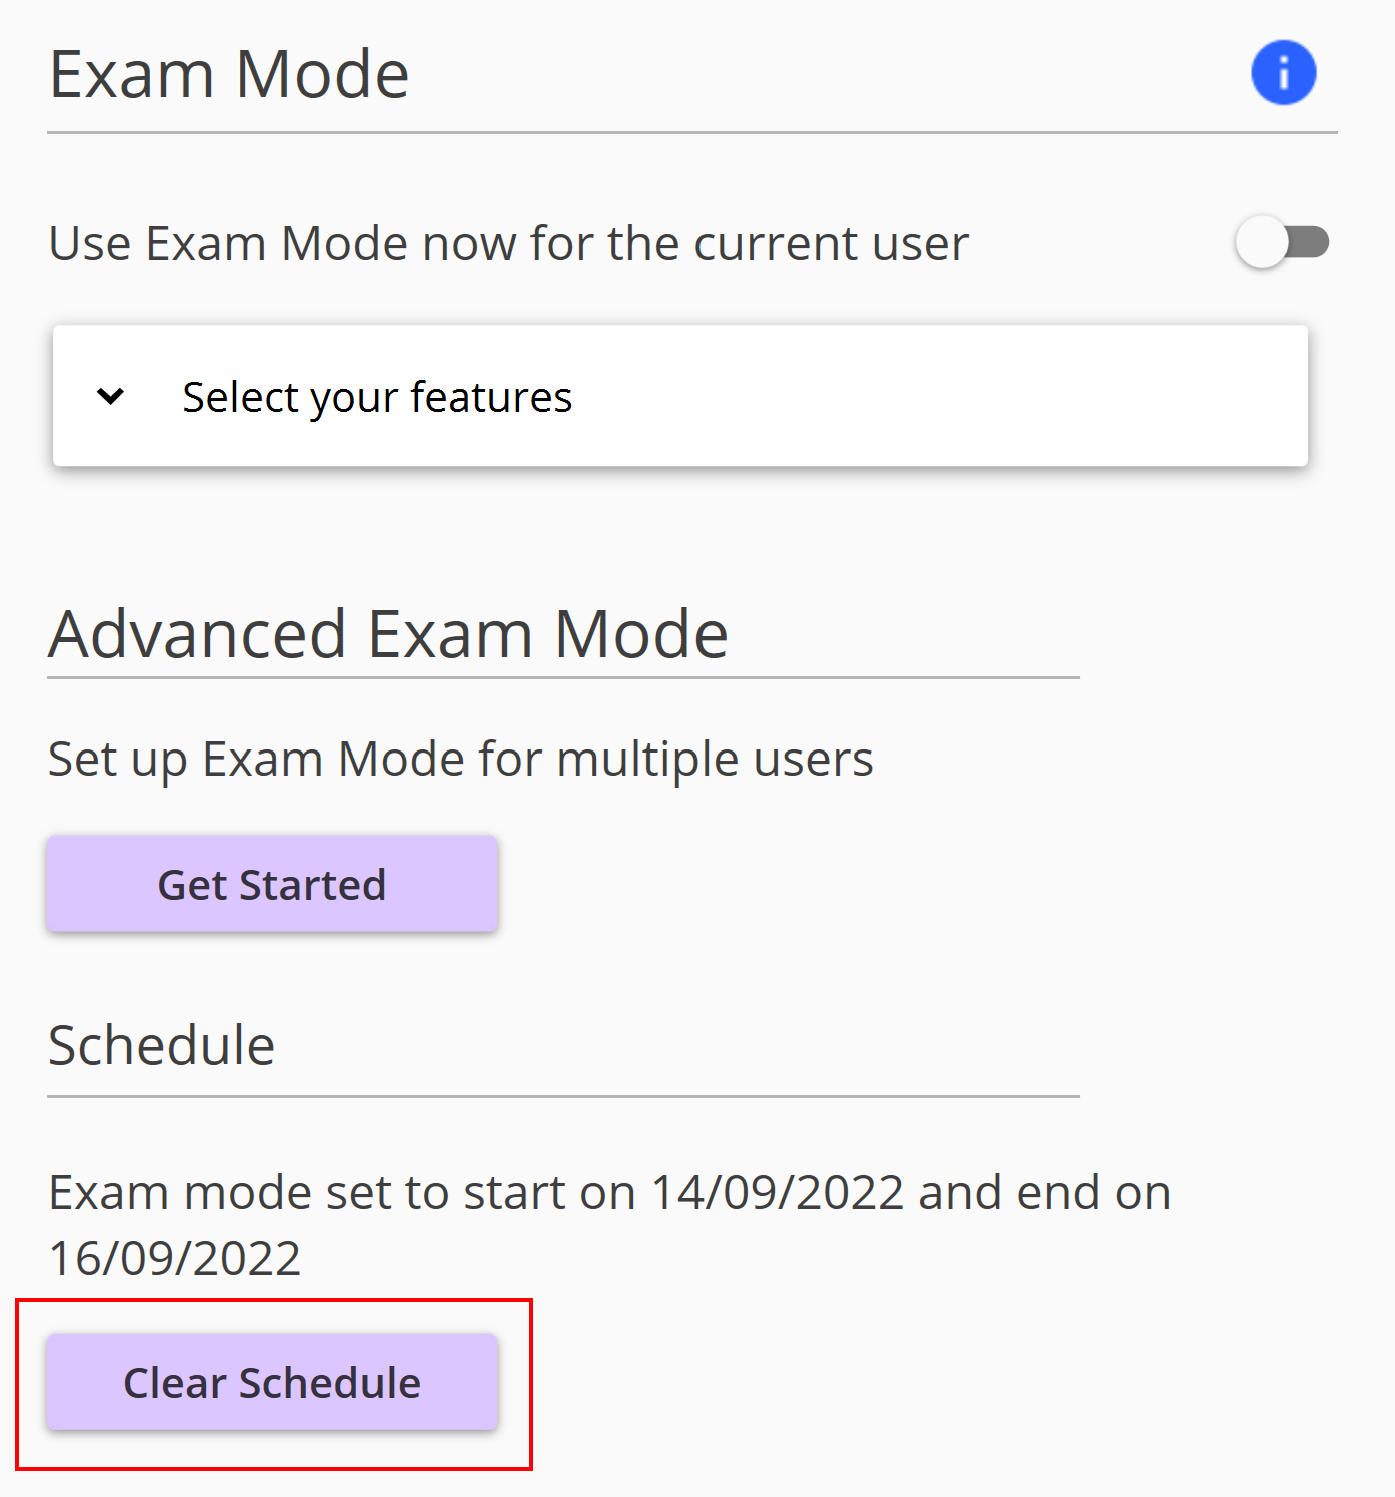
If you have configured Exam Mode for a user with a date range, you will see this information appear under Schedule on the main Administrator settings page.
To end a scheduled Exam Mode early, click Clear Schedule.
Note:- this will only clear it for the currently logged in Read&Write user.
