The Read&Write deployment process is a simple, two-step process:
Step 1: Install Read&Write on the target machine
Step 2: Enable Multi User setup to allow different users to have their own profiles
It’s fast and easy and supported by Texthelp online. In preparation, simply ensure the machine has internet access, is on the network and you have Admin rights to install software.
Step 1 - Install Read&Write on the target machine
The link to download Read&Write for Windows can be found in our Read&Write Software Downloads article.
NOTE: You’ll need to now complete Step 2 to finish the install if more than one user will be using this machine
Step 2 - Enable Multi-user use
Download the Multi-User Setup tool
This will download a zip file: readandwritemultiusersetup.zip - double click this and then double-click the file that is shown: Read&Write Multi-User Setup.exe.
Check Desktop for Shortcut. Double Click Shortcut to run.
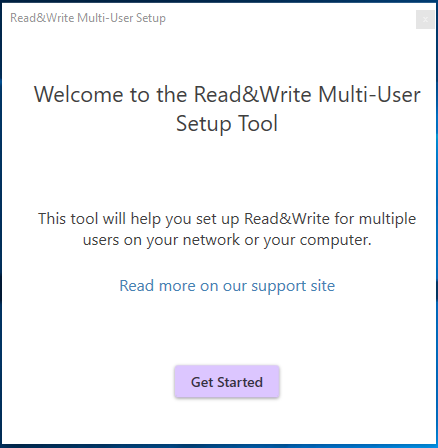
Click Get Started
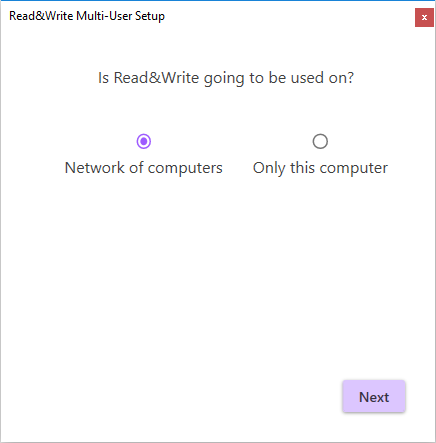
Select Network of computers > Next
Decide where you want your users’ settings to be stored > Next
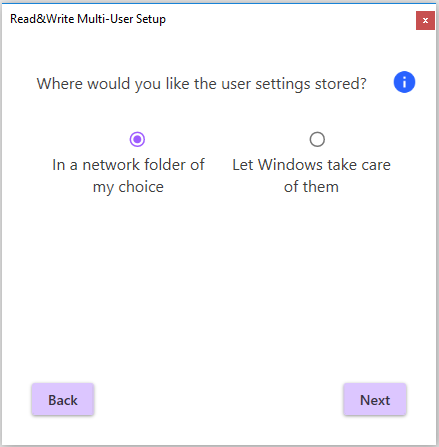
In a network folder of my choice - this will allow you to specify a folder on your network. This folder must be writeable and accessible to all users and admins. (We recommend using this deployment setup for exams).
Let Windows take care of them - this will default to storing user settings in the user’s roaming profile.
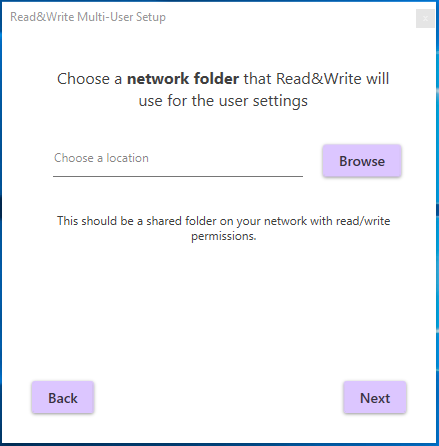
If you selected In a network folder of my choice, type in the UNC path or browse to the location of that folder
> Next
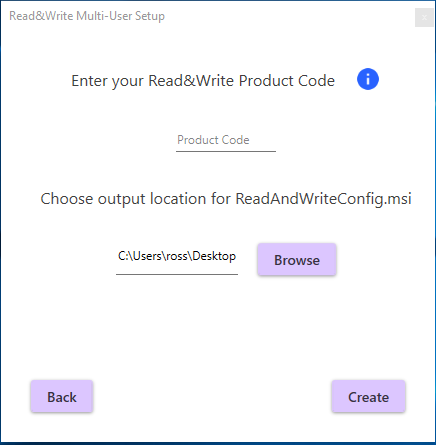
Re-Enter your product code. Choose where you would like to save the MSI that will be created. This will default to your desktop
> Create
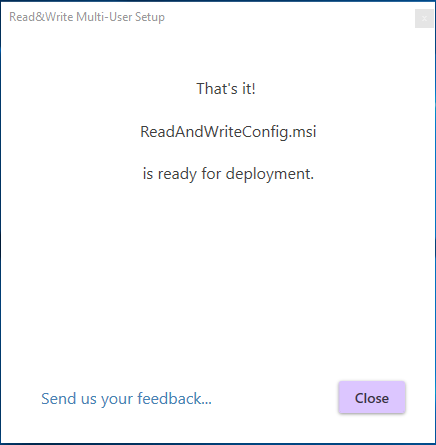
You’re all set with Windows!
Deploy this MSI along with the Read&Write software across your network using your preferred deployment methods. Then follow the exam mode user guide to setup exam mode.
When your end users launch Read&Write, they will not be prompted to log into the program.
Read&Write for Google Chrome
1. Click Device management in the Google Admin Console.
2. Select Chrome Management.
3. In Chrome Management, select User & browser settings.
4. Under Organizations choose the OU (Organizational Unit) you would like to deploy extensions to.
5. Scroll down to Apps and Extensions and locate Force-installed Apps and Extensions.
6. Click the Manage force-installed apps link.
7. In Force-installed Apps and Extensions, click the Chrome Web Store button.
8. Type the extension or app name (e.g. Read&Write) that you're deploying into the search box and press Enter. The app or extension listing will appear immediately below the search box.
9. Click on the Add link to add the app or extension to the force-install list.
10. Click SAVE.
11. After the force-install window has closed, click SAVE at the bottom of the page to publish the app or extension to all of your selected users. The app or extension will now be deployed to your users.
Note: If you click DISCARD all of your changes to this point will be removed and the app or extension will not be deployed to your users. Leaving this page without clicking on SAVE first will also result in all changes to this point being removed.