The purpose of this article is to show how to import voice profiles for Windows Speech Recognition that can be used with Read&Write for Windows.
Download the Speech Profile Manager
Double click on the appropriate platform to begin your download.
Run this file.
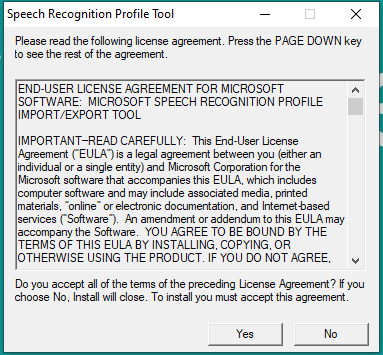
Click Yes
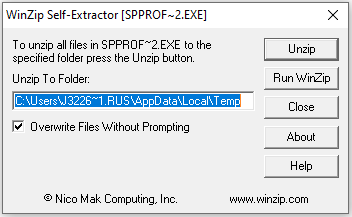
Select the location where you would like to store these files and click Unzip
Go to specified location and run SpProfileMgr

The window below will now be displayed.
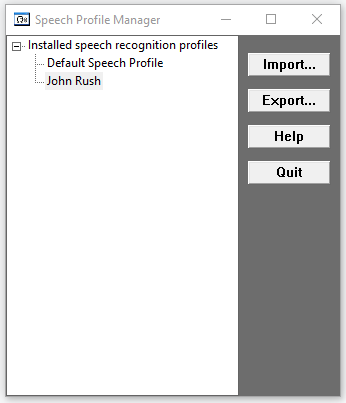
Select the profile you want to transfer and click on the Export button.
Specify what location you want the file stored in and save the file as the name of the user. (This will make it easier to decipher between different voice profiles)
Save this file in a transferable location
I.e. Google Drive, USB etc
On New Machine
1. Repeat the same process as before
Go to Microsoft Download Center
2. Click Download
Run this file.
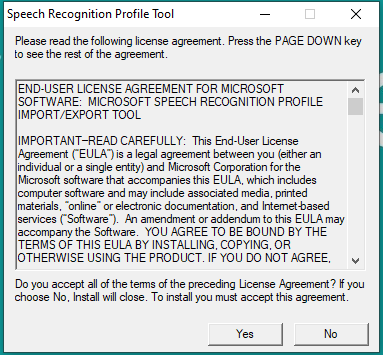
Click Yes
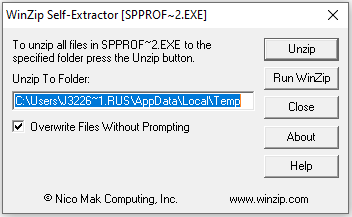
Select the location where you would like to store these files and click Unzip
Go to specified location and run SpProfileMgr

The window below will now be displayed.
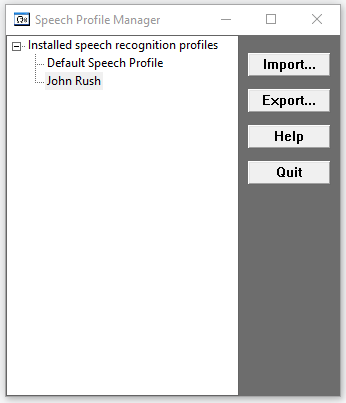
Click on the Import button.
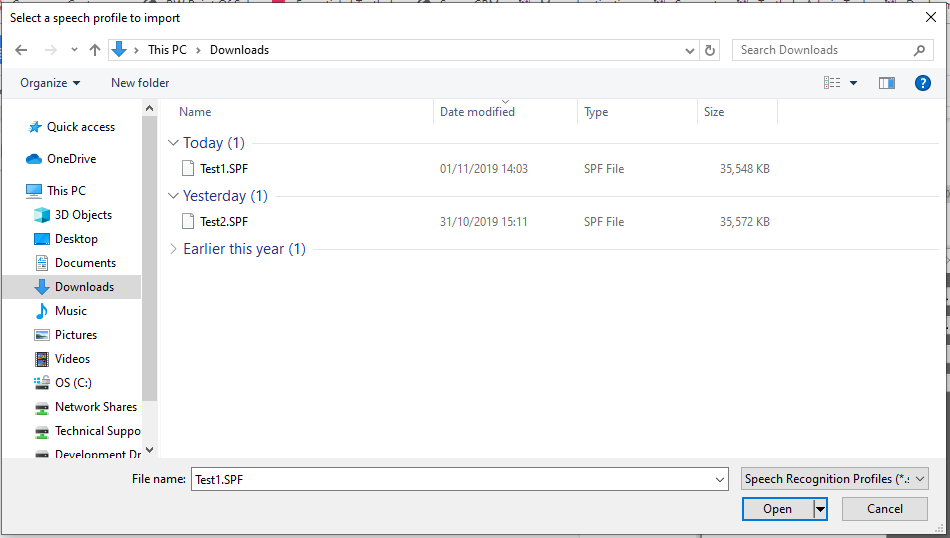
Locate and select the voice profile, click Open
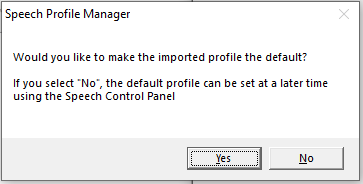
Click Yes
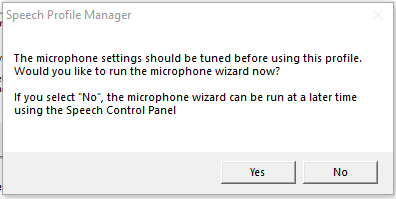
Changing Default Voice Profile
If you would like to switch between different Voice Profiles on the same machine, follow the steps below:
1. Open Control Panel
2. Speech Recognition
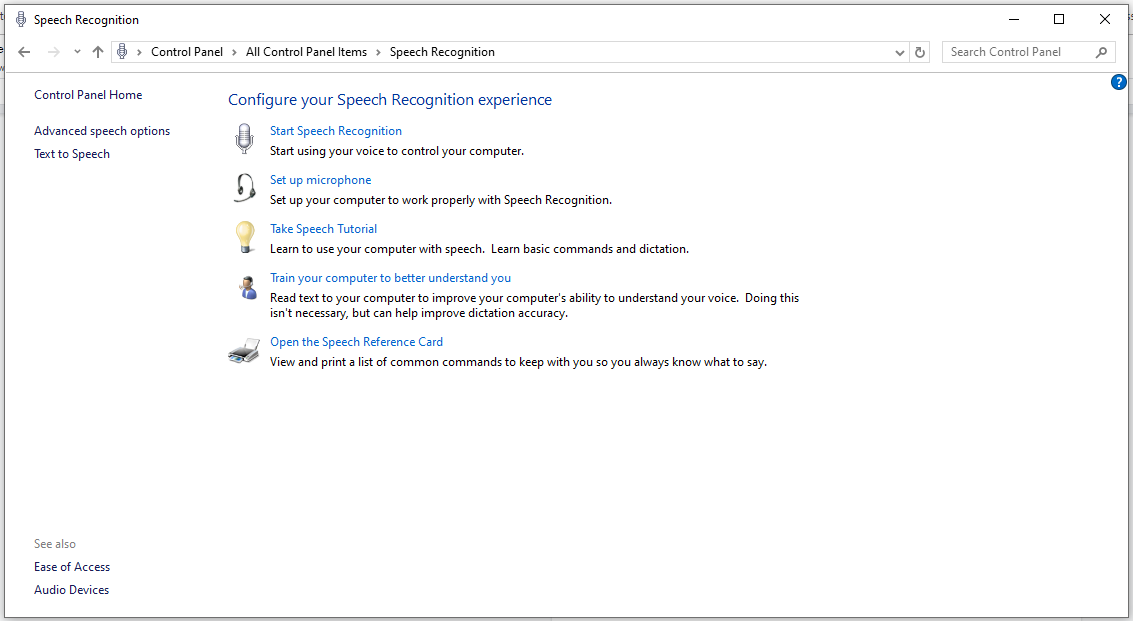
3. Click Advanced Speech Options
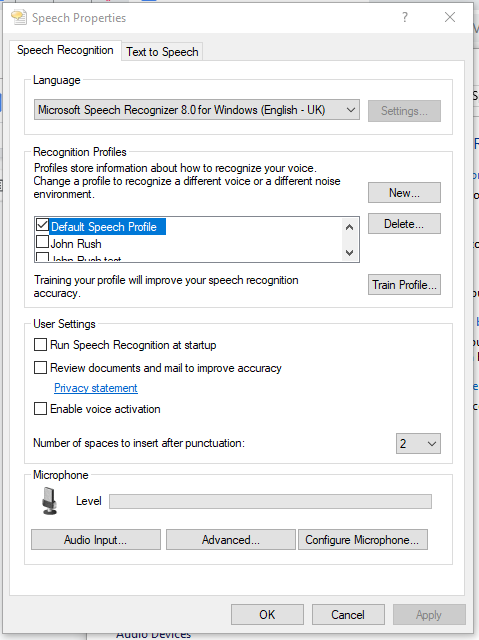
5. Select Profile.
6. Click Apply
7. Click OK
8. Close Control Panel
